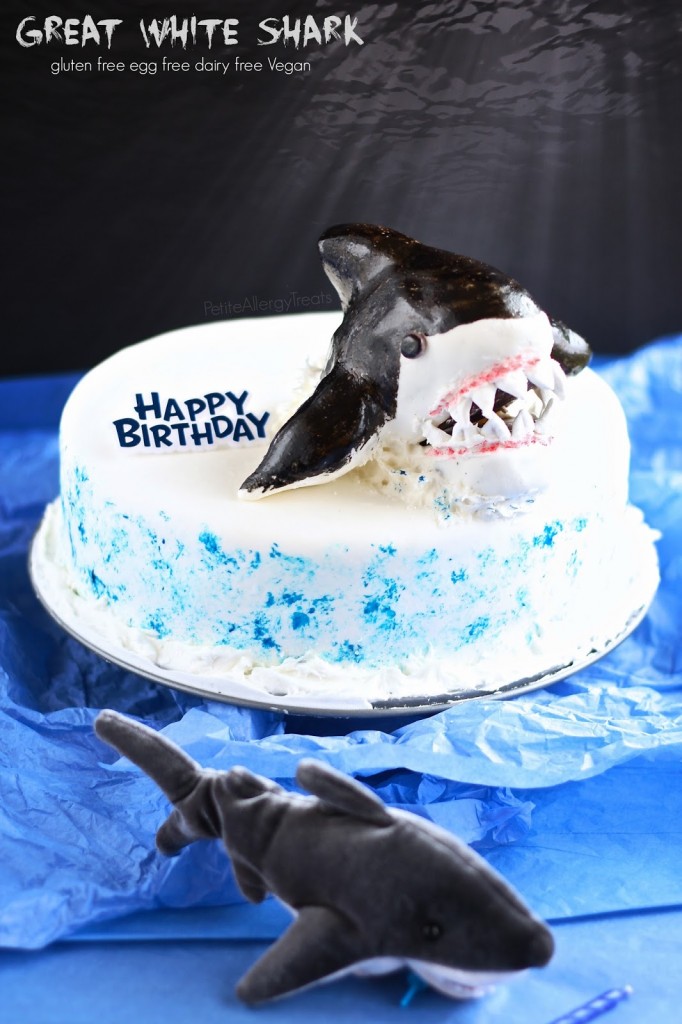
A Great White Shark is scary but they make a great boy’s birthday party theme. This fearsome chocolate shark cake just happens to be a food allergy friendly shark. I used an easy marshmallow fondant with a dairy free frosting. The entire cake is also free of the top 8 food allergens making it gluten free, egg free, dairy free and peanut free. Don’t let the teeth scare you.
*Duhna… duhna….…duuhna, duuhna… duhna, duhna….*- Jaws Theme or insert Sharknado music
Watch out for the shark in the water! Huh? Or is it just an orca whale with pointy teeth??
*sigh*
Gawd. This cake. It isn’t my best… A little cringe worthy to me.
This thing is looong over due. I’ve been delaying this long enough… It’s not that I don’t love this shark or was overall happy with my creation; I just know I could have done better with more time. This was a beast of a project that I ended up scrambling on towards the end. I don’t even have the best of photos. This was from waaay back in November for Mr. Naughty’s third birthday. I ran out of time since my in-laws arrived 2 weeks ahead of schedule to due to a family illness and then a funeral.
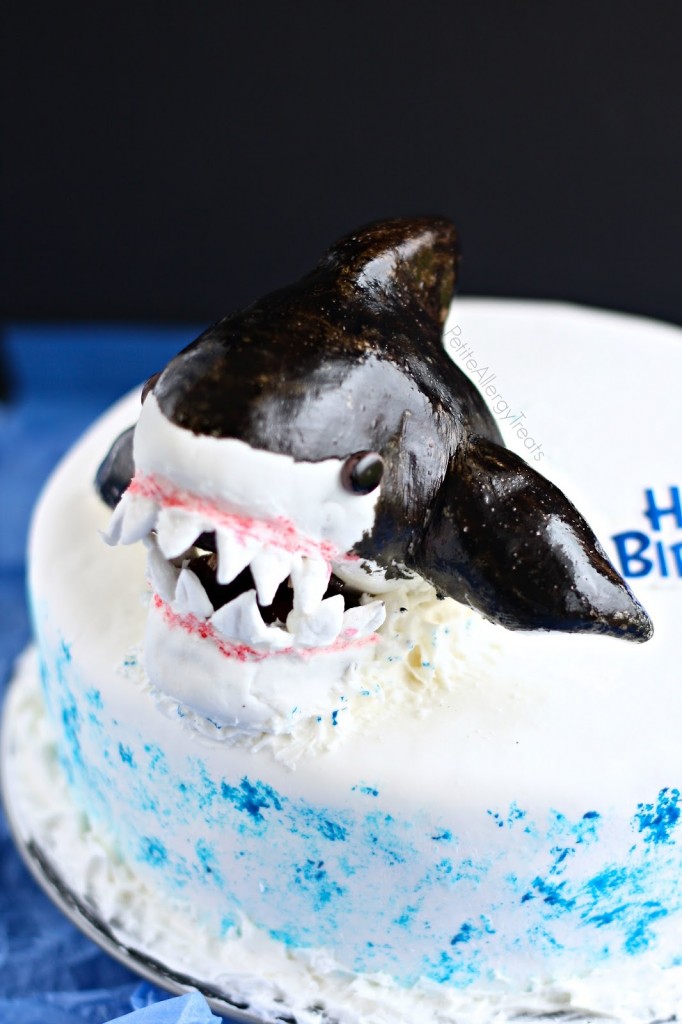
But in the end, Mr. Naughty loved it.
That’s really all that matters.
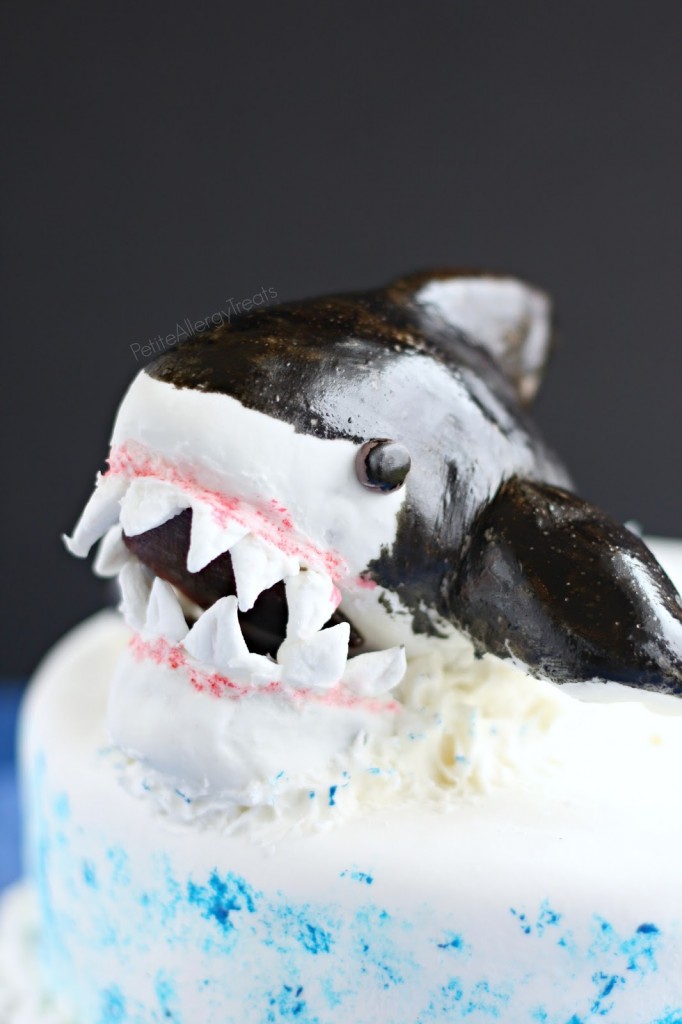
I don’t typically make sharks out of cake, do you? I think it turned out well enough. Maybe just a touch of Orca whale too… I suppose you could even turn this into a Whale Cake minus the pointy teeth.
Do you ever get an idea that seems great and doable, (in your mind) but then somehow goes awry? This happens to me frequently. My 3 year old (then 2), asked for this cake of all the things for his birthday and of course, I had to say Yes.
Water that was supposed to be crystal clear and blue….with white caps full of motion… Again, this was an image in my head.
I’m sure by now you’ve noticed all the bright colors.
In the past I’ve gone the natural dye-free route with my Mint Oreos, Mint Shake and Easter Bunny cookies.
Not with this cake.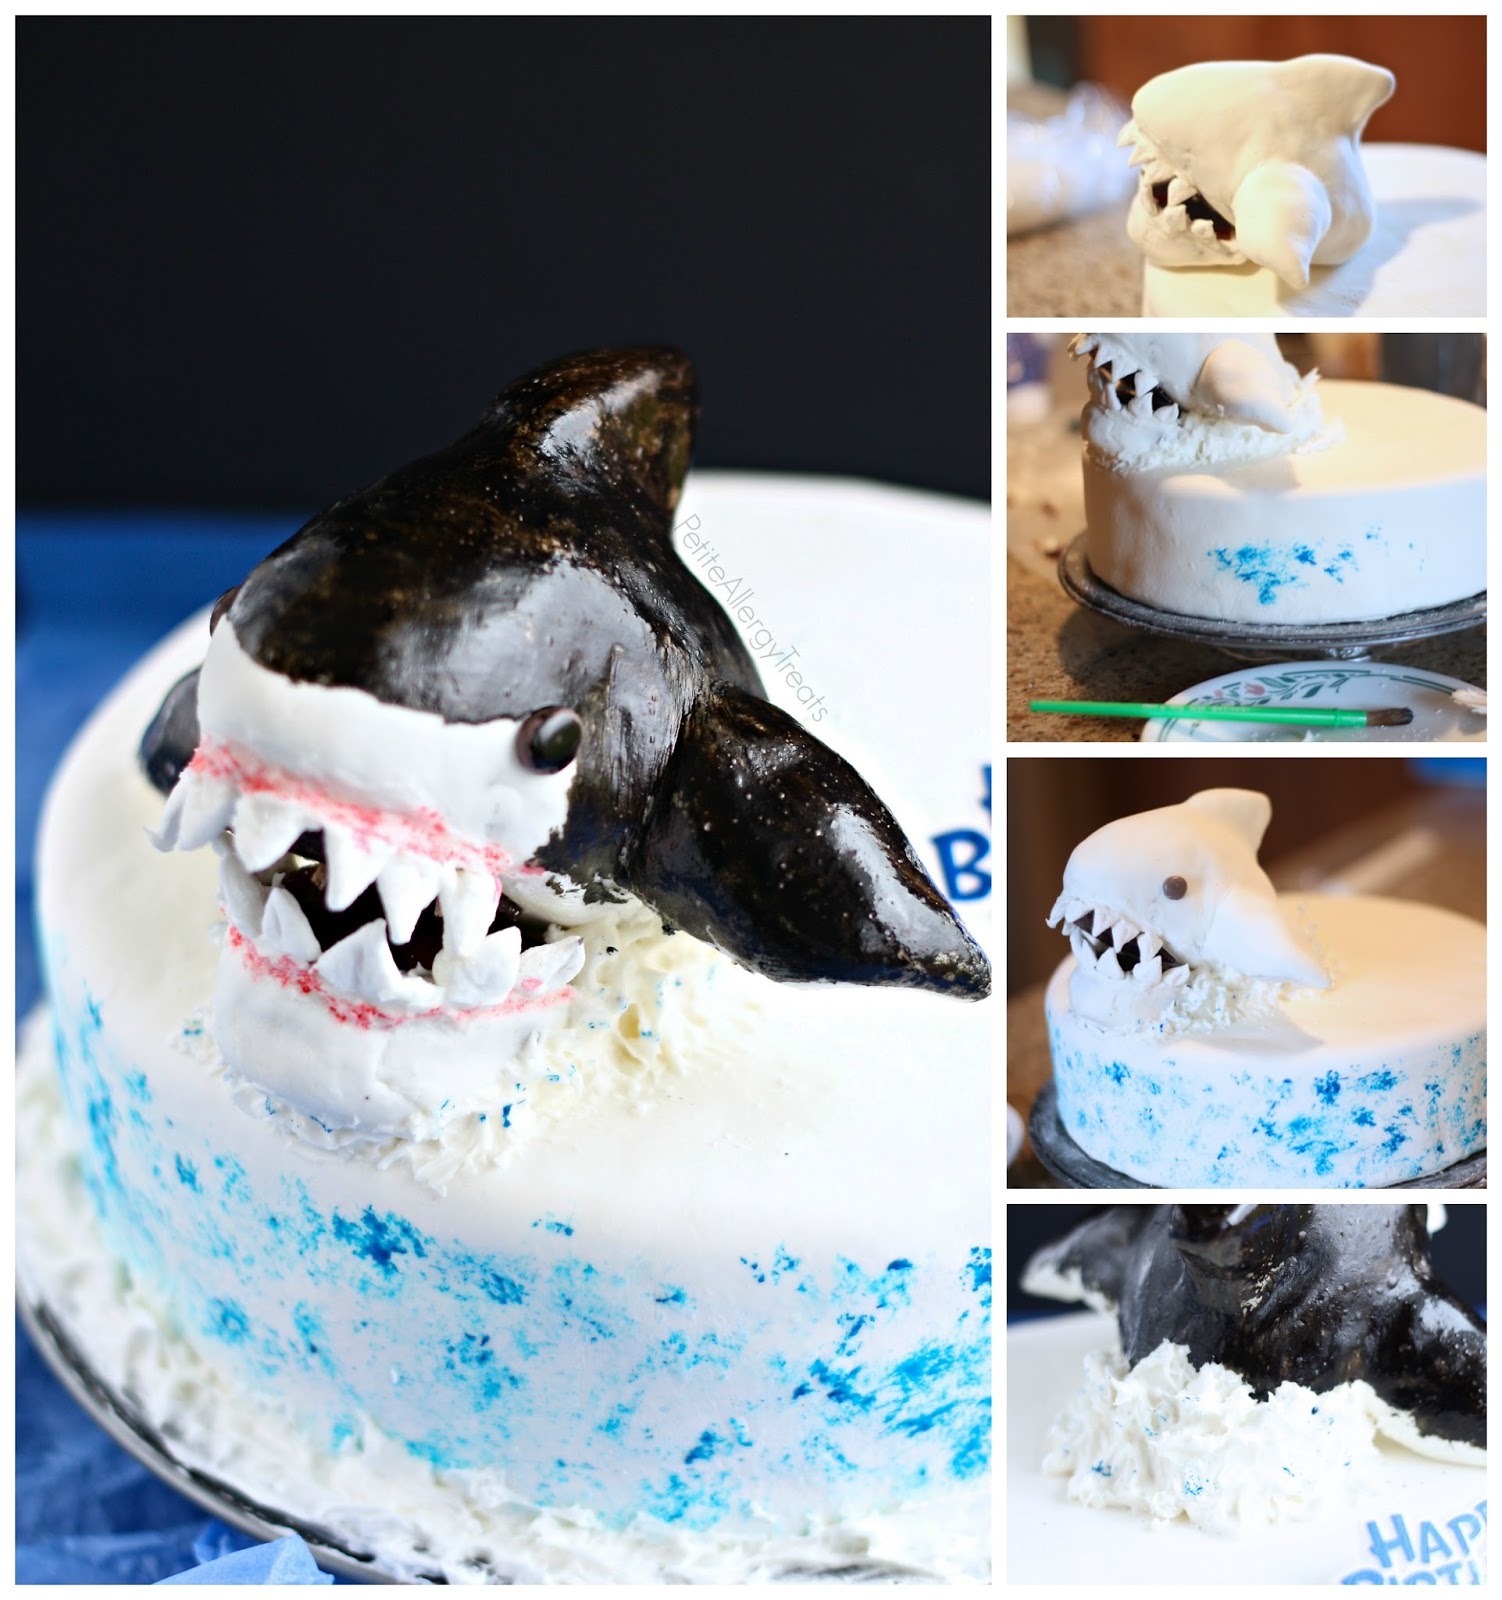
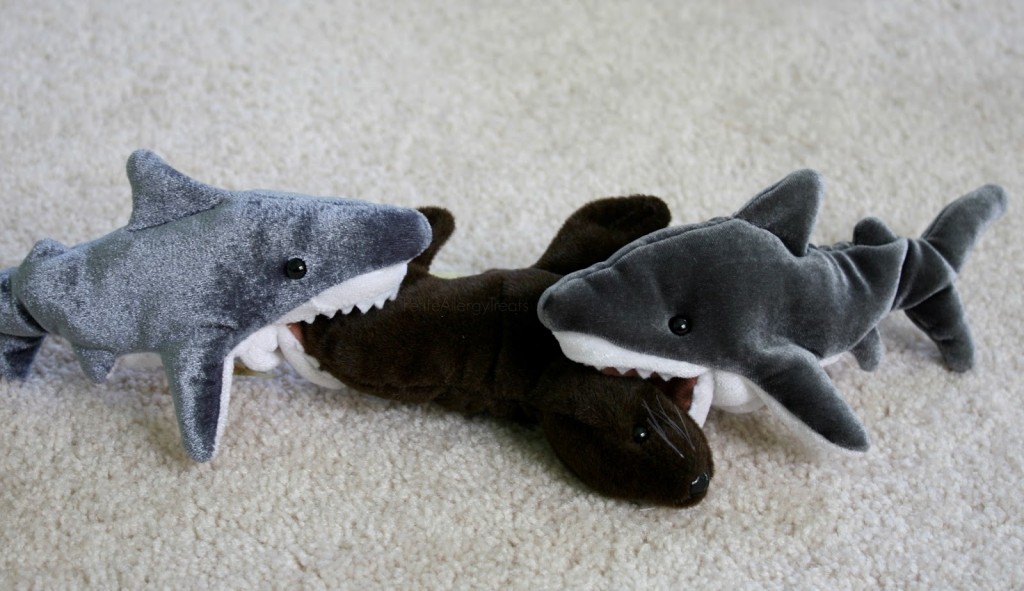
It’s embarrassing it’s from November of last year. Since then, Mr. Naughty’s love for sharks has grown exponentially. The small puppet shark in the cake photo is named Holy Smokes. Santa ended dropping off another shark, Donut, since everyone fought over playing with only one shark. And then the Easter Bunny brought a baby seal to feed the sharks. An all around great time if you ask me.
If you are going to attempt this please read all the directions throughly before proceeding…It will give you an idea of how much time and effort to set aside. Annnd if you do make this, please send me a picture! I love seeing all your creations!
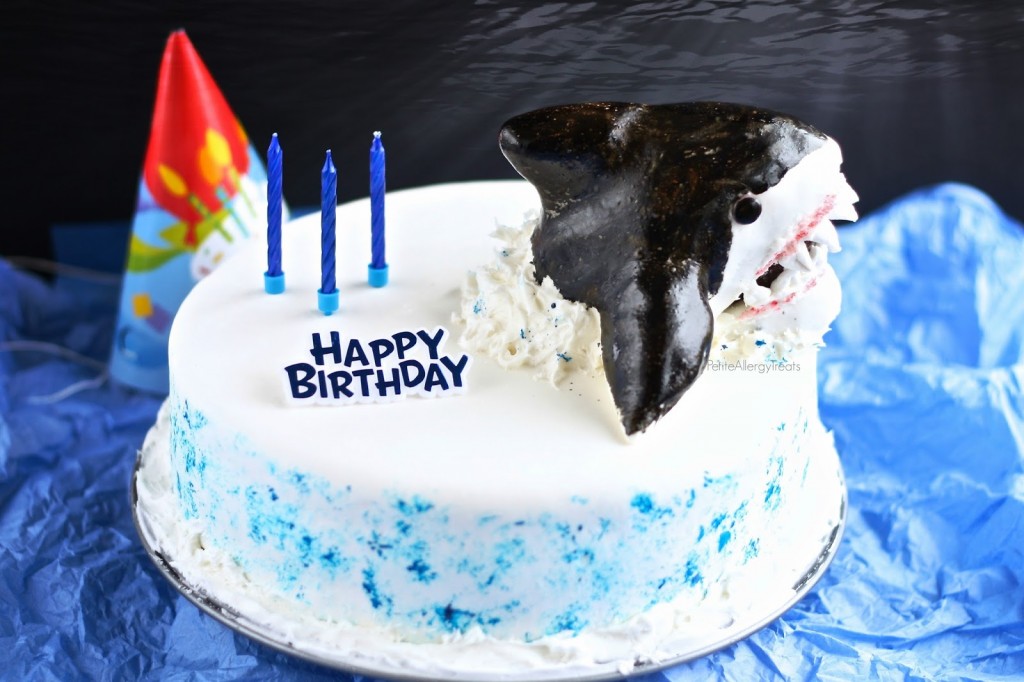 Great White Shark- egg free dairy free gluten free
Author: Laura @ Petite Allergy Treats
Cake Bake at 325 degrees
- 4 1/2 cups gluten free all purpose blend (I used my whole grain mix)
- 1 1/2 cup dutch process cocoa
- 3 cups milk of choice
- 1 1/2 cups maple syrup
- 5 Tbsp molasses
- 4 tsp baking powder
- 2 tsp vanilla
- 1 1/2 tsps guar gum
- 3/4 tsps pectin powder
- 2 tsps white vinegar
- 3/4 cup oil
Frosting
- 1 1/2 cup organic non hydrogenated palm shortening
- 6 cups of organic powdered sugar
- 1 tsp vanilla
- 3 oz milk or water
Fondant
- 2 batches marshmallow fondant
- reserve 10 mini or 3 large marshmallows for teeth
- 1 red fruit leather
- blue, black, red food dyes (use natural if you can find it)
- wooden toothpicks
- 2 wooden skewers
- cardboard/cake holder
- small paint brush
Directions
- Cake Batter: Combine all dry ingredients and mix well. Add wet ingredients and mix with hand mixer until smooth.
- Pans: Pour into a greased 8 inch spring foam pan and save about 1 1/2 cups to make 2 mini loaf pans. Fill one of the mini pans with 1 cup (body) and 1/2 cup (fins) in the other pan. Bake all at 325 degrees until tooth pick comes out clean in the center (20-25 minutes for 8 inch and about 12-14 minutes for mini loaf- less for the small loaf) Allow to cool completely.
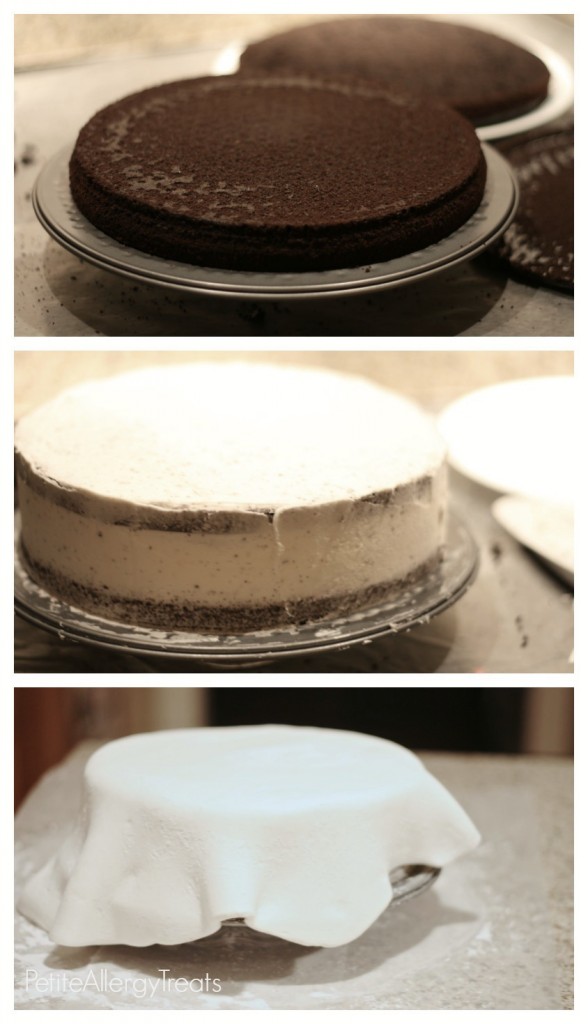
- Release spring form and carefully remove the cake. To create a level top, lightly trace a line to cut off excess uneven top cake. Rotate and apply gently but firm pressure to the top (watch your fingers) and cut at the same time. Remove top.
- Cut and trace another line that equally divides the remaining cake in half. Repeat the steps above. Carefully cut and remove top layer.
- Add a small amount of frosting between the cake board and bottom layer to anchor cake or else it could slide off during transport. Frost the top with approximately half the frosting. Place the other layer on top and gently push down to secure.
- Create a thin layer of frosting for a crumb coat (this helps the fondant stick.) I used my old dough cutter to smooth out the sides and top. You’ll want this layer pretty thin or else the fondant will slide too much and not stick.
- Fondant- (Reserve approximately 1/3 for the shark body) Roll out the fondant large enough to cover the entire cake. Use a rolling pin or other object to support moving fondant to the cake to help avoid wrinkles. Place over the cake gently tug to smooth any wrinkles and gaps. Trim excess fondant and save for shark and fins. Set in refrigerator while working on the shark body.
- Mini Loaf (Shark Body)- The large loaf will be the body of the shark, the small one will be for fins.
- Shark Head: By free hand, trim to shape into a torpedo shape to make the head, round on one side that gradually angles down for the body the shark. Shape until even on both sides, keeping in mind where the fins would be placed.
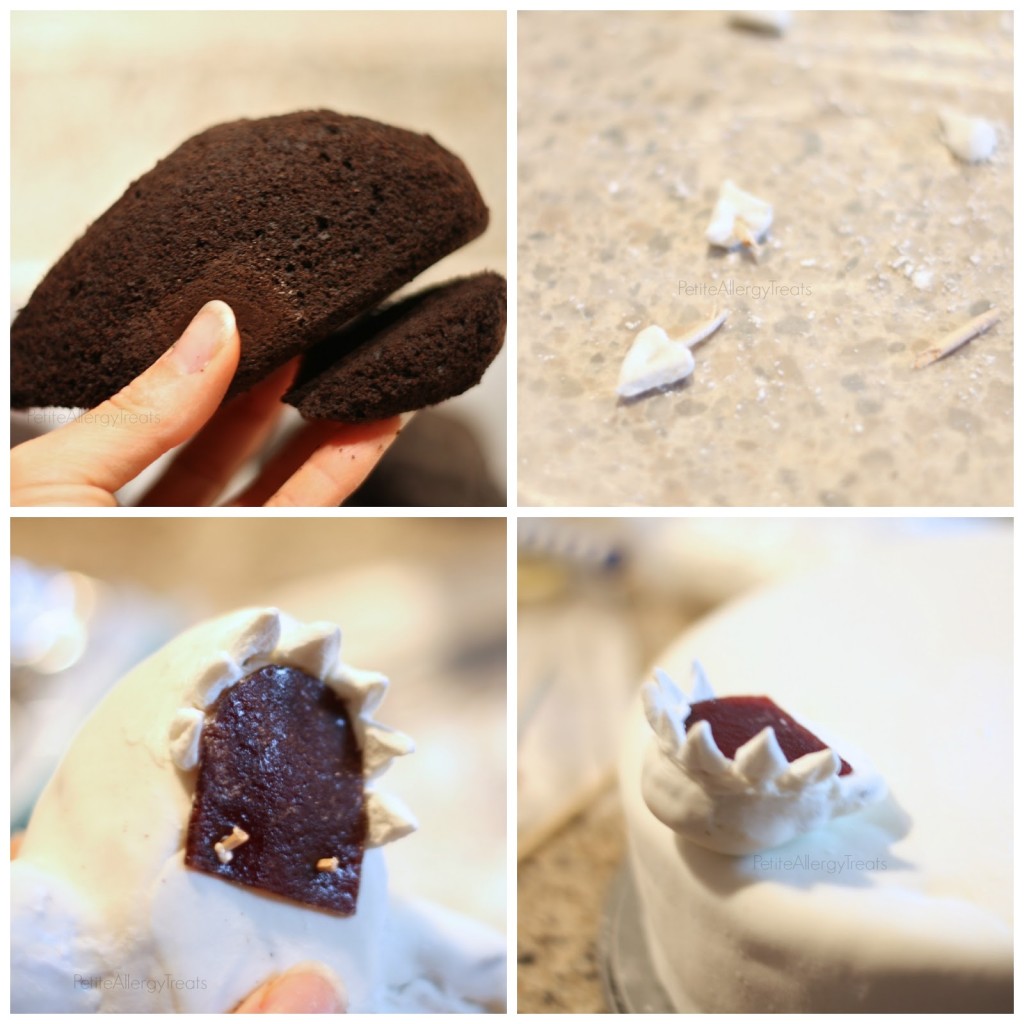
- Teeth/Red mouth- cut mini marshmallows in half length wise (axially) and then cut each marshmallow again the opposite way, width wise (coronally). Cut into triangle shapes and insert with a half a toothpick. Get out fruit leather ready to cut for lining the jaw and mouth. Simply cut to fit shape of head and jaw. Set aside to be placed on top of fondant.
- Fins/Jaw- use the left over loaf.
- Jaw: Cut and use the end of the mini loaf, approximately 1/3 of the loaf. Cut off loaf at an angle, to match the width and size of the shark head. Carve to fit. Set aside.
- Fins: Use the remaining to cut 2 fins. Taper fins to mirror each other creating left and right fins. loaf.
- Use a wooden skewer to securer each fin on top and sides of the body. (The jaw will be separate.)
- Thinly frost the body and fins with frosting. Use remaining fondant to cover with the seam on the bottom. Repeat with the separate jaw. Secure fruit leather to the lower jaw with toothpicks and insert teeth.
- Measure and cut a wooden skewer to the height of the cake and secure bottom jaw on top to cake.
- Secure remaining fruit leather and teeth to upper portion of the mouth. Use another measured wooden skewer to secure (rest on top) of cake.
- Details: Add additional frosting surrounding the entire shark to give a water effect. If there are gaps in the mouth near the teeth, fill in with frosting. Lightly paint entire cake with blue dye to make water, don’t forget the back and front where shark is. Out line the mouth in red and Create eyes out of excess fondant and color. Paint the entire top of the shark and fin with black. (Real sharks are white on the bottom, I use a picture to ‘help’ a bit with the outlines)
- Enjoy your master piece. It’s a project but worth it!
NOTES: Let it be known: This cake is a project. Although it seems easy (and really it is), it is very time consuming. The details are really what makes this cake. I feel my shark was too ‘fat’ in the head and looks more Orca-ish… I started making this 2 days before I need it with the fondant and frosting as a make a head. You will need the cake to cool completely before cutting or risk shredding the cakes entirely. My mini loaf pans are really are mini at 3 x 6 by 2 inches deep. If you don’t have one on had you could try and carve the body out from any shape pan but you would need to make an additional batch of batter. A serrated knife is best for slicing and carving. Frosting and fondant are great to help fill in any oops or mistakes. As long as you child is happy, it’s worth it right?Some other things you may like:





Leave a Reply