A long time ago (6 years) in a galaxy far, far away (Wisconsin)…. My son was born!
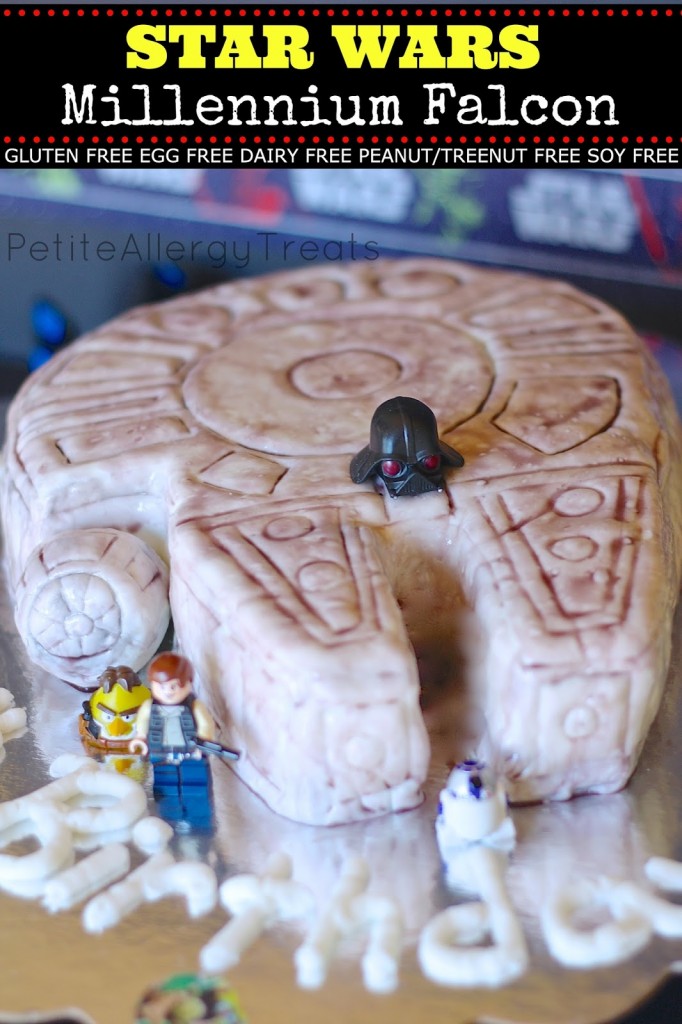
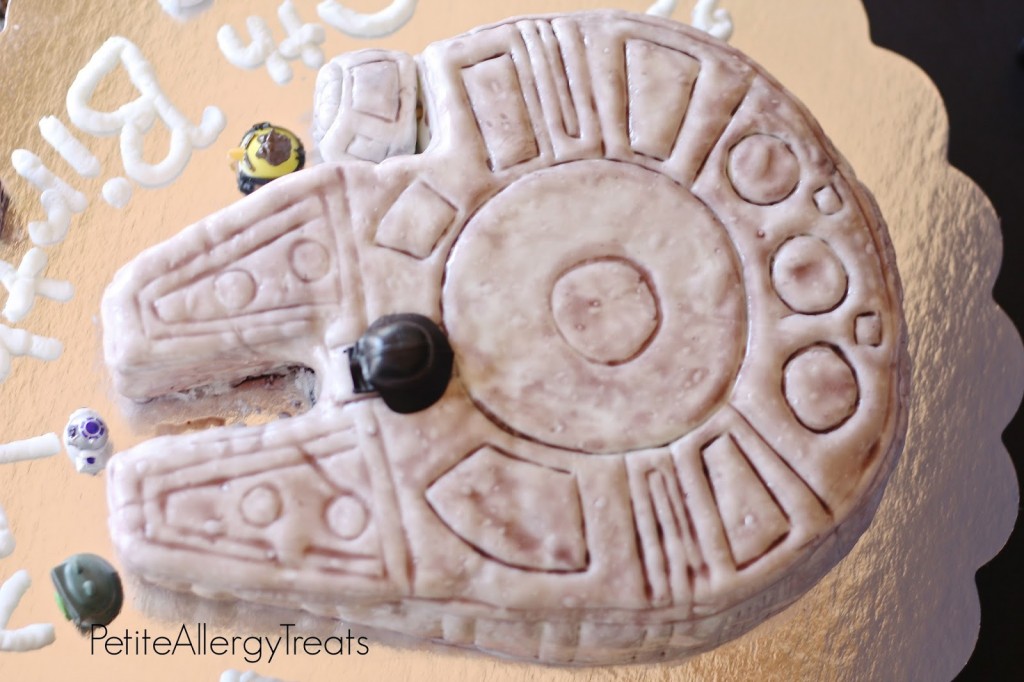
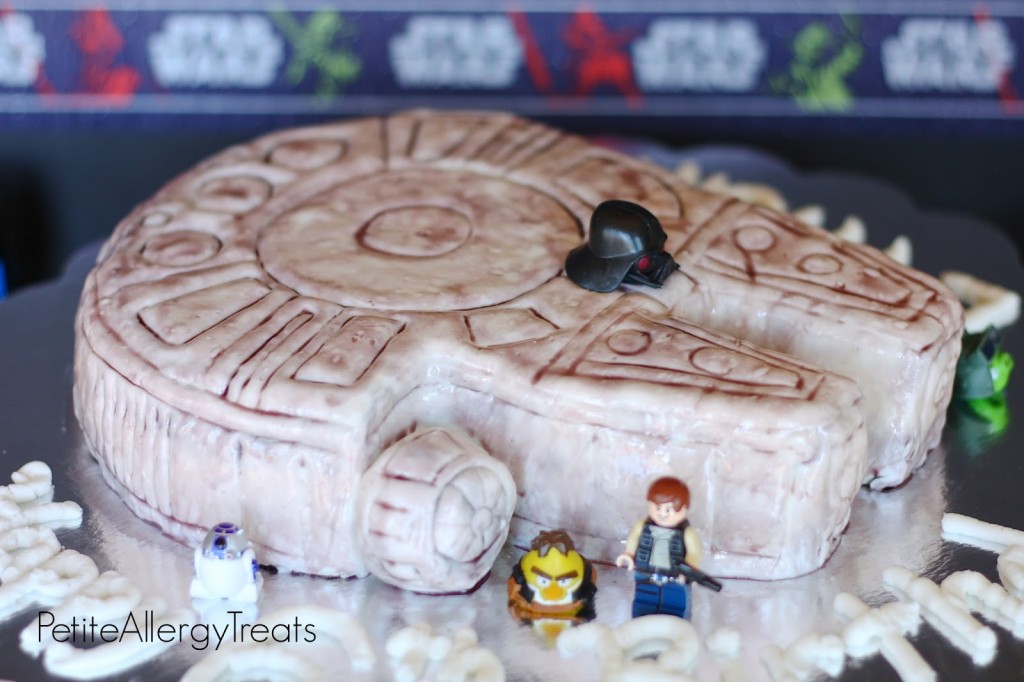
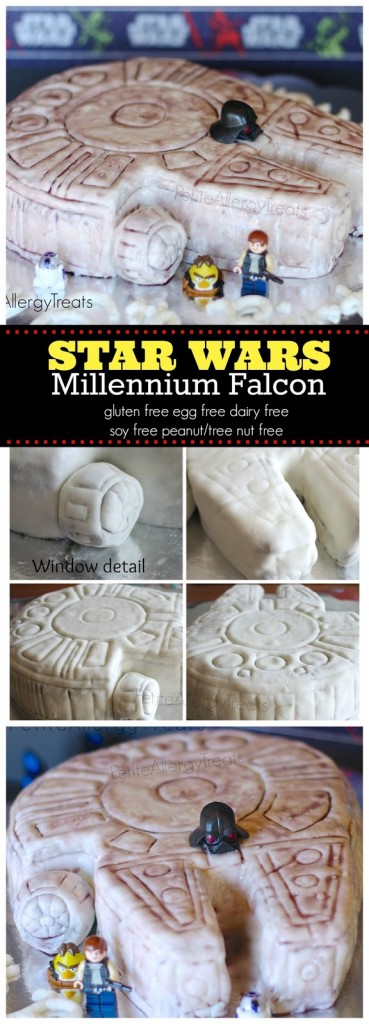
I made this cake to celebrate my son turning 6. Oh my gosh, times flies by… I can’t believe how big he is now. As you can guess, Sir currently loves Star Wars and wanted a cake to represent that. He originally asked me to make a Star Wars Angry Birds Pig Star (Death Star). Uh…ok. Can’t do that… How about the ship? Ok? Ok!
A few things you should know before I attempted this cake.
1. I’ve never made a fancy cake (and by fancy I mean more that one layer).
2. I’ve never even tasted fondant, let alone tried to work with a marshmallow homemade kind.
3. Gluten free eggless cakes usually = crumbly texture that falls apart when sliced. (How can I cut/layer/shape this thing without big mess).
I ended up placing the pan (spring form removed) on top of a saucer for a make shift cake wheel that spun with enough ease.
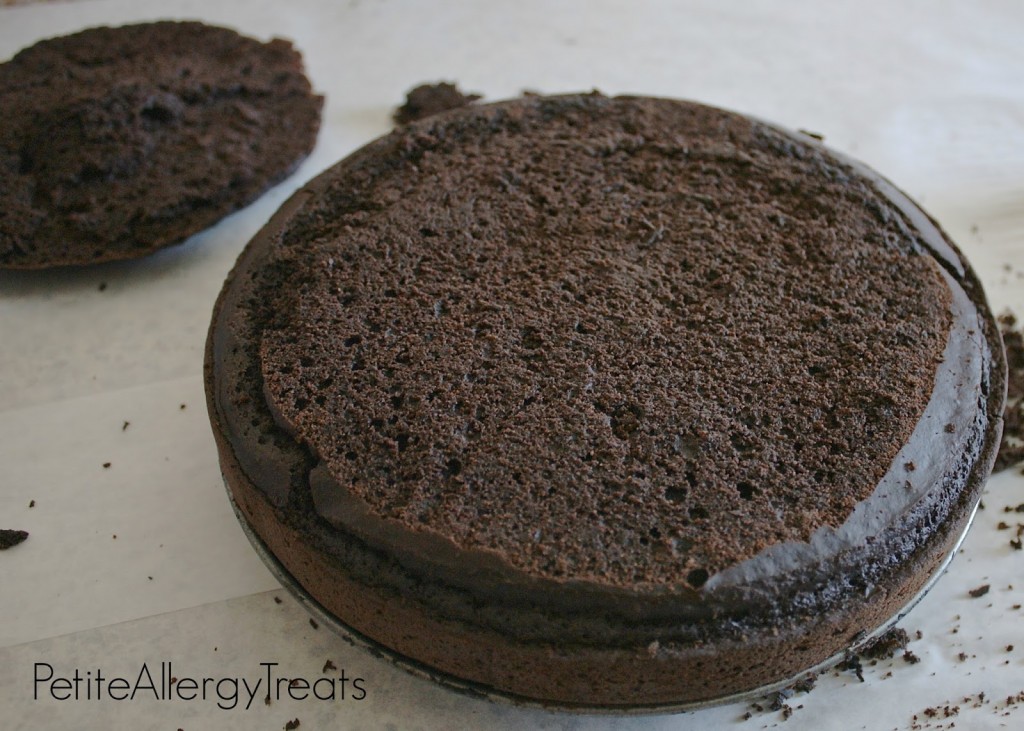
Slicing was the moment of truth. Talk about relief! No huge cracks or bad crumbling…yet.
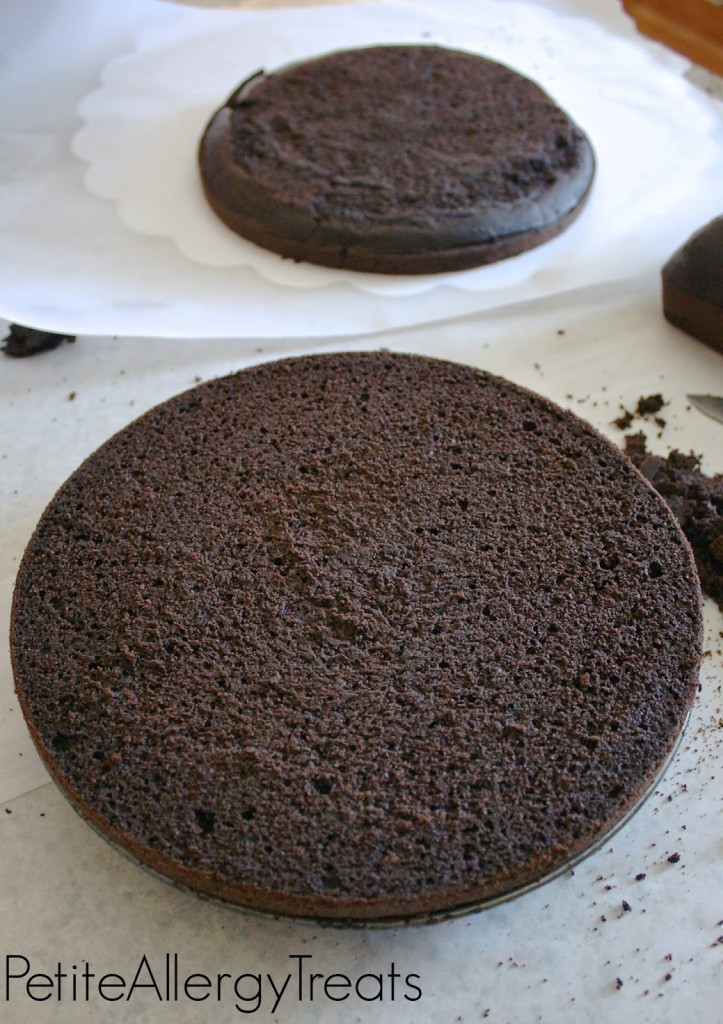
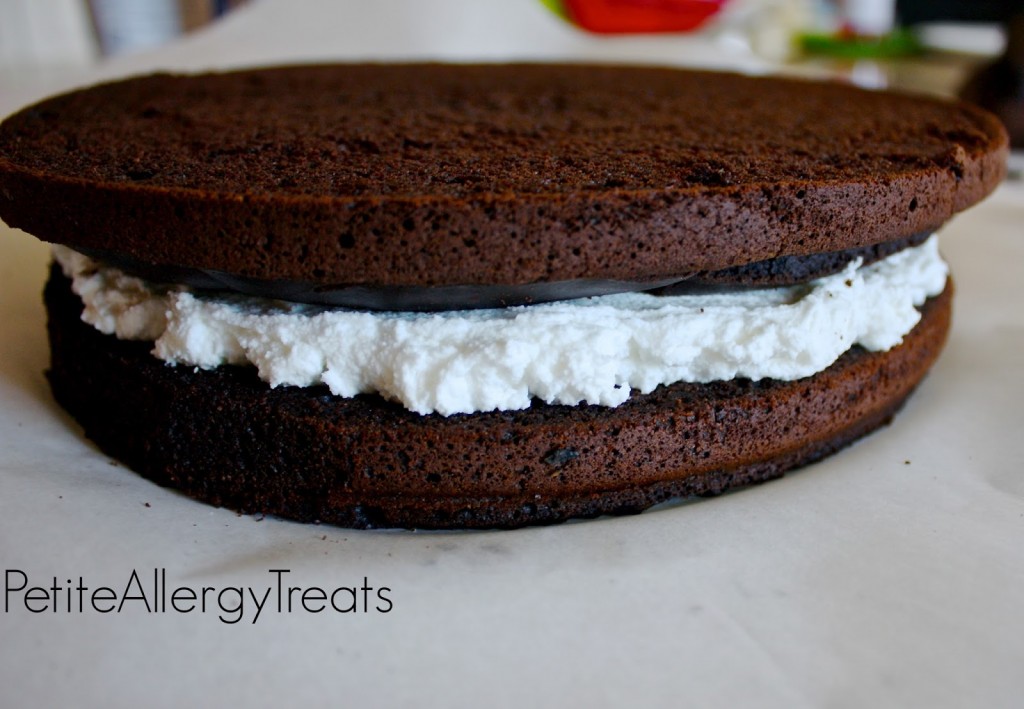
Cut the cake into two equal layers. A tip I learned was to first trace the line with the knife to make sure its straight and then spin the cake to make the knife cut. This was a great tip to avoid the jagged sawing motion that could easily destroy a gluten free cake.
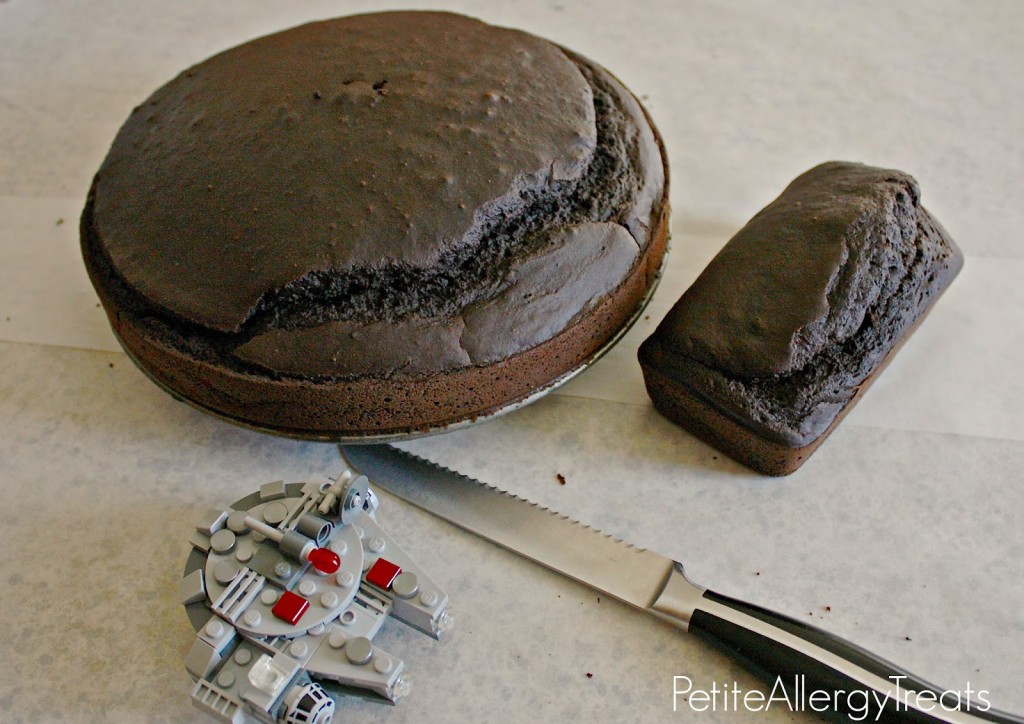
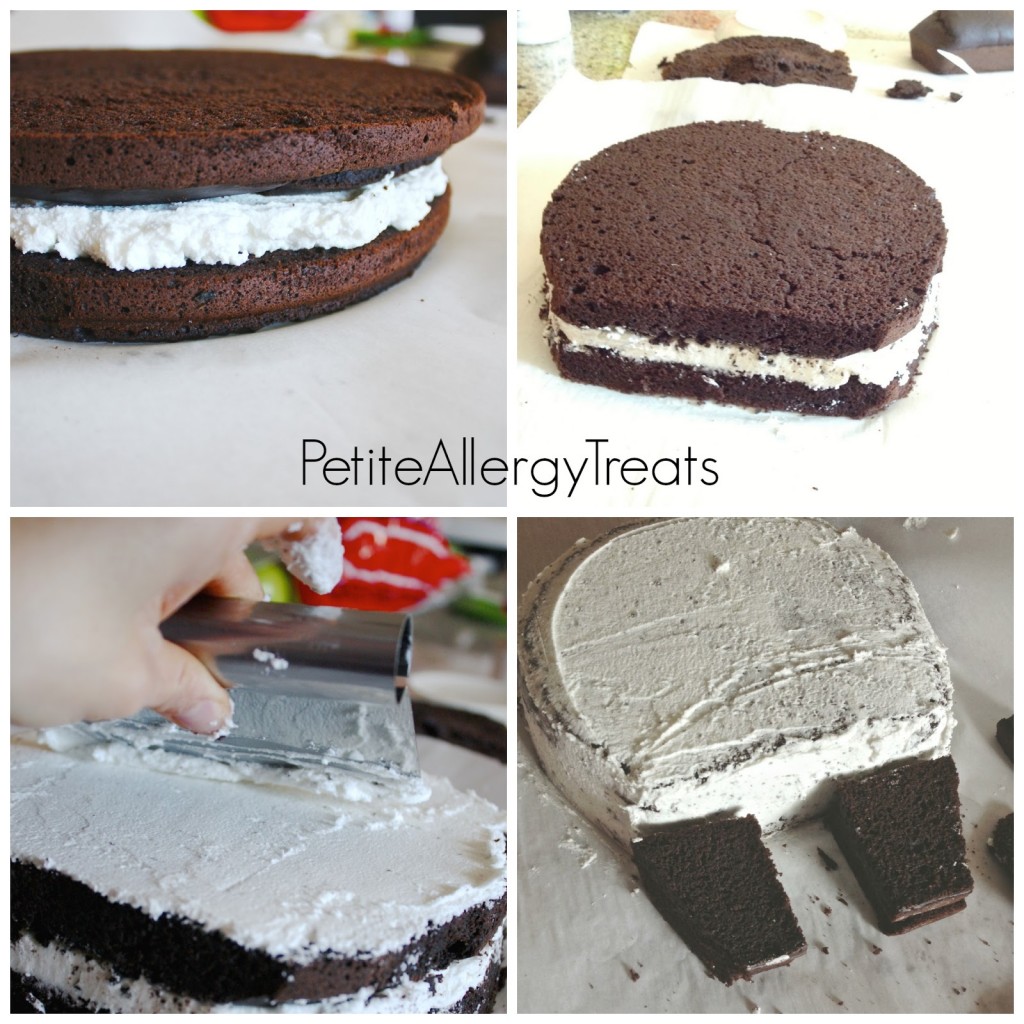
Add filling and evenly spread. I then used my son’s toy Lego Millennium Falcon as a guide for shaping. I shaved a thin slice off of each side until it was equal and then guessed at how deep the cut should be for the front of the ship.
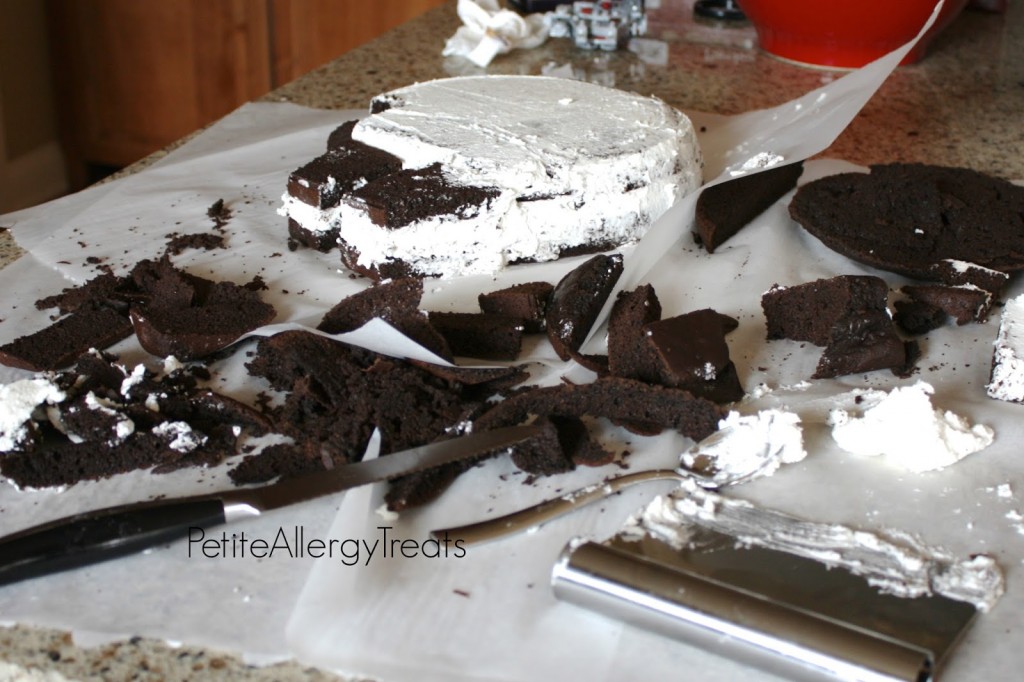
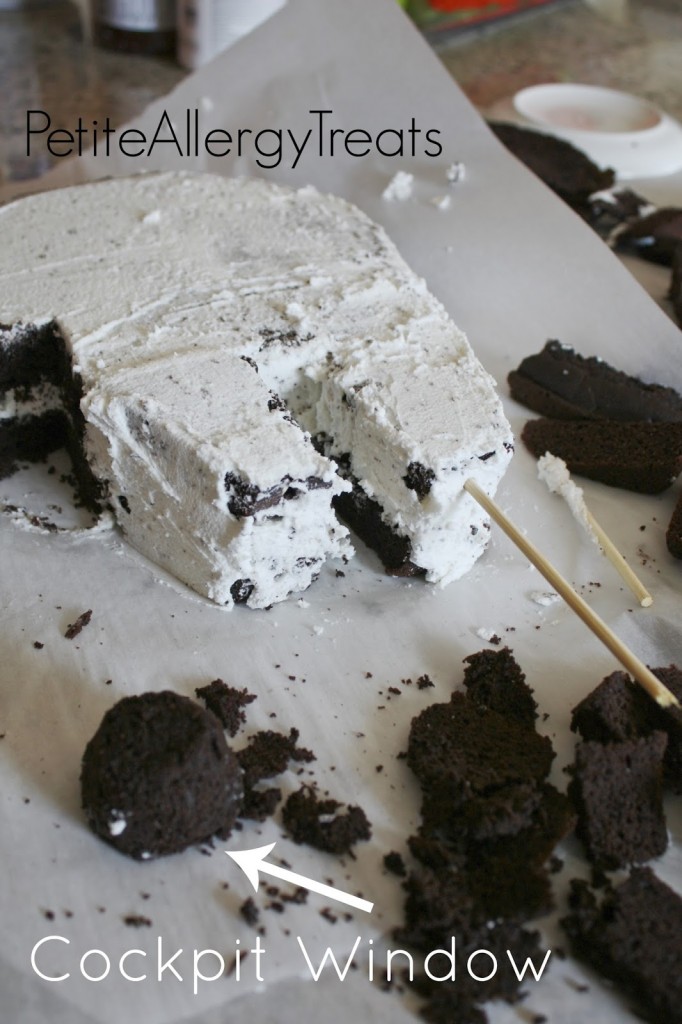
Cut the top of mini loaf to make level. (Plan ahead and try to leave enough thickness for the Window of the Cockpit.) Cut in half and cut into a trapezoid shape for the front of the ship. Slice in half to form 2 layers, frost and place in front of ship to measure angles. Make adjustments. Remember this is all free hand and small adjustments will be needed. Don’t forget to cut a small square out of the left side for the cockpit area. (See the picture toward the end with the arrow.) Add skewers to attach pieces the front pieces. You’ll attach the cockpit after you apply the fondant.
Author: Laura @ Petite Allergy Treats
Cake Bake at 325 degrees
- 3 cups gluten free all purpose blend (I used my whole grain mix)
- 1 cup dutch process cocoa
- 2 cups milk of choice
- 1 cup maple syrup
- 3 T molasses
- 4 tsp baking powder
- 1 tsp vanilla
- 1 tsp guar gum
- 1/2 tsp pectin powder
- 2 tsps white vinegar
- 1/2 cup oil
- 1 1/2 cup organic non hydrogenated palm shortening
- 6 cups of organic powdered sugar
- 1 tsp vanilla
- 3 oz milk of choice
- 10 oz bag of marshmallows
- 2-3 tsp water
- 3 T non-hydrogenated shortening
- 3-4 cups powdered sugar
- 3 drops of black food dye + 1/3 cup water
- wooden skewers
- cardboard cake holder
- small paint brush
- Heat marshmallows, shortening and water on high for 30 second in a glass bowl in microwave. Mix and heat again until melted.
- Gradually add about 2 cups powdered sugar until pliable. With greased hands, mix remaining sugar in by hand on a clean surface sprinkled with powdered sugar to prevent sticking.
- Roll out on surface dusted with powdered sugar to fit the shape of the cake.
- Combine all dry ingredients and mix well. Add wet ingredients and mix with hand mixer until smooth.
- Pour into a greased 8 inch spring foam pan and save about 3/4-1 cup for mini loaf pan. Bake at 325 until tooth pick comes out clean in the center (about 10-12 minutes for mini loaf and 25-30 minutes for 8 inch) Allow to cool completely.
- Carefully flip pan or release spring form to remove the cake. Trace a line to cut off uneven top cake. Rotate and cut at the same time. Remove top.
- Trace another line that equally divides the cake in half. Carefully cut and remove top layer.
- Frost the top and evenly spread with frosting. Replace other layer on top.
- Create a thin layer of frosting for a crumb coat (this helps the fondant stick.)
- Carve parallel sides of the cake to start the shape of the ship.
- Cut the mini loaf to make level. (Plan ahead and try to leave enough thickness for the Window of the Cockpit.) Cut in half and cut into a trapezoid shape for the front of the ship. Slice in half to form 2 layers, frost and place in front of ship to measure angles. Make adjustments. Add frosting.
- Secure each piece with a skewer through the bottom layer of the cake.
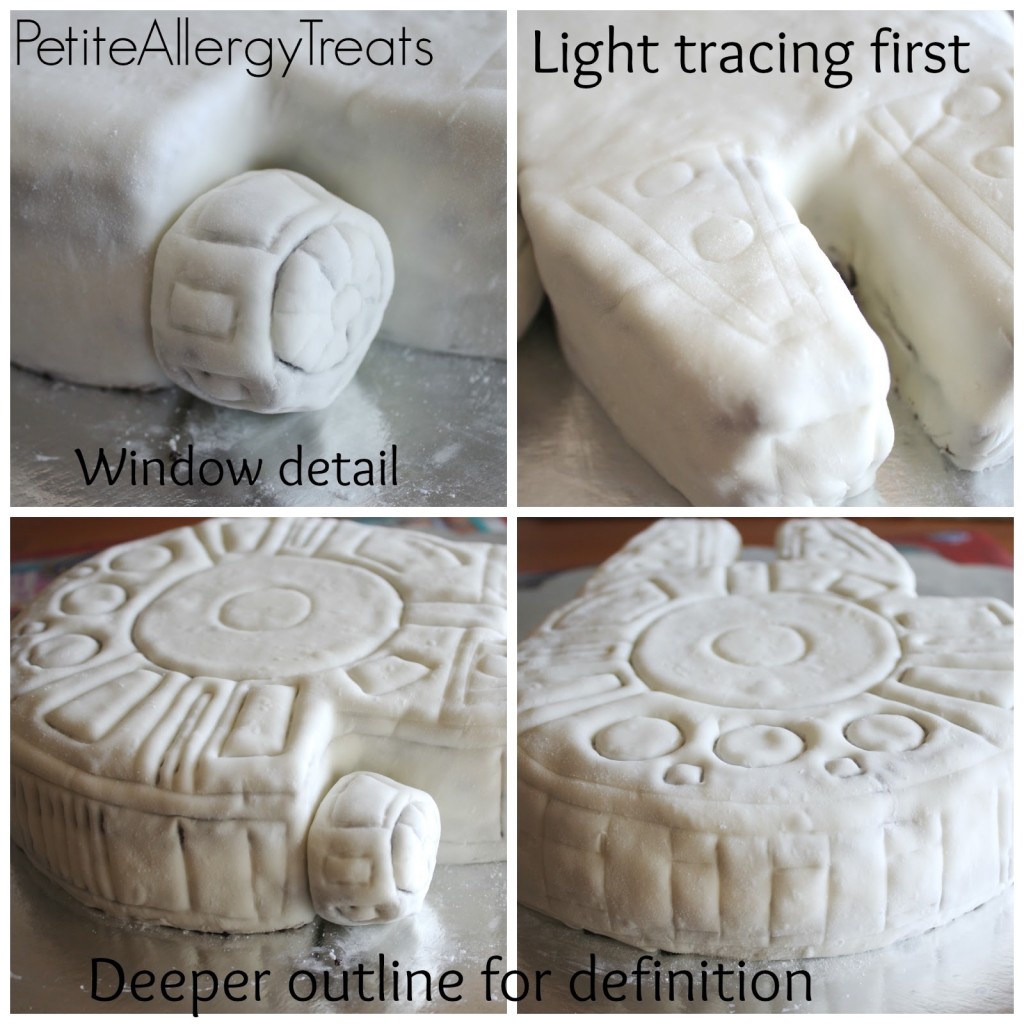
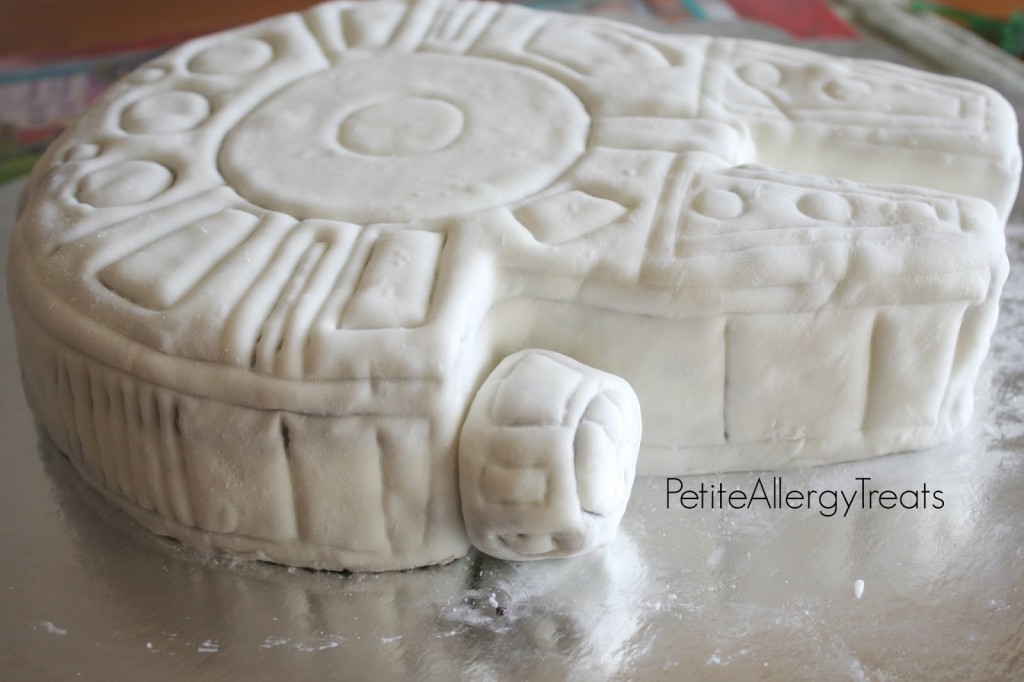
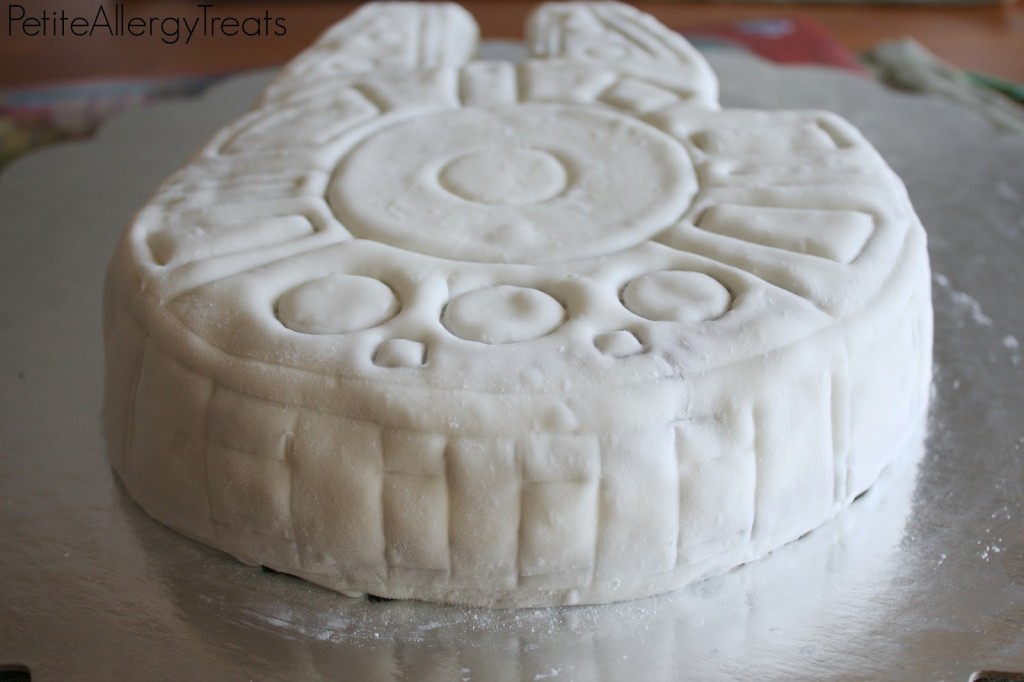
- Apply fondant to entire cake. Trim excess fondant.
- Use left over fondant to cover the cockpit window. Use a wooden skewer to secure to cake.
- Outline the details of the cake with a small plastic knife or carving tool.
- Paint entire cake with food dye mixed with the water.
- Enjoy!


Thank you for all these incredible allergy free recipes! I have been following your blog since December when my 4 year old started an elimination diet. Going to try this fondant cake recipe for a birthday. So far all recipes we have tried have been a hit with all of us. You do so much with all the restrictions it’s amazing!
Thank you so much Lisa!!! Good luck with the cake. I am sure your ; year will love it, no matter what!
Can I freeze this frosting?
Yes! You can always freeze frosting but you’ll probably want to whip it again before use.