A decadent mini Gluten Free Vegan Chocolate Cake (dairy free) for someone special! This beautiful vegan rose cake is food allergy friendly and simple to decorate that also happens dairy free, egg free, soy free and nut free.
Thank you Enjoy Life Foods for sponsoring this post! #EatFreely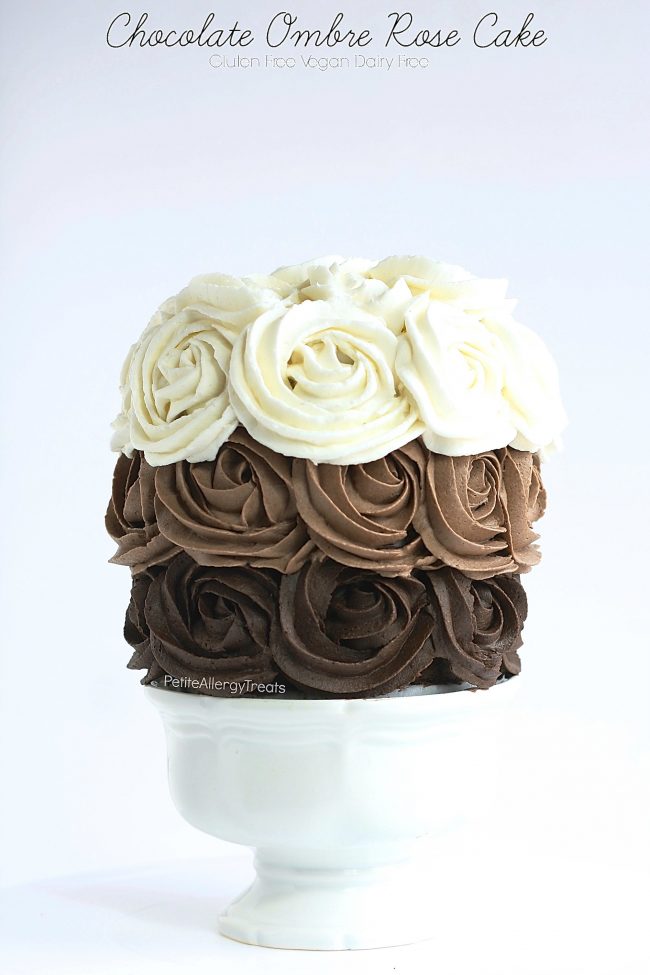
May has finally arrived! All this month is National Celiac’s Awareness Month and it also happens to be National Food Allergy Awareness week May 8-14. Help spread the word about food allergies by wearing the color Teal. I wanted to do something extra special (besides wearing Teal). And here it is.
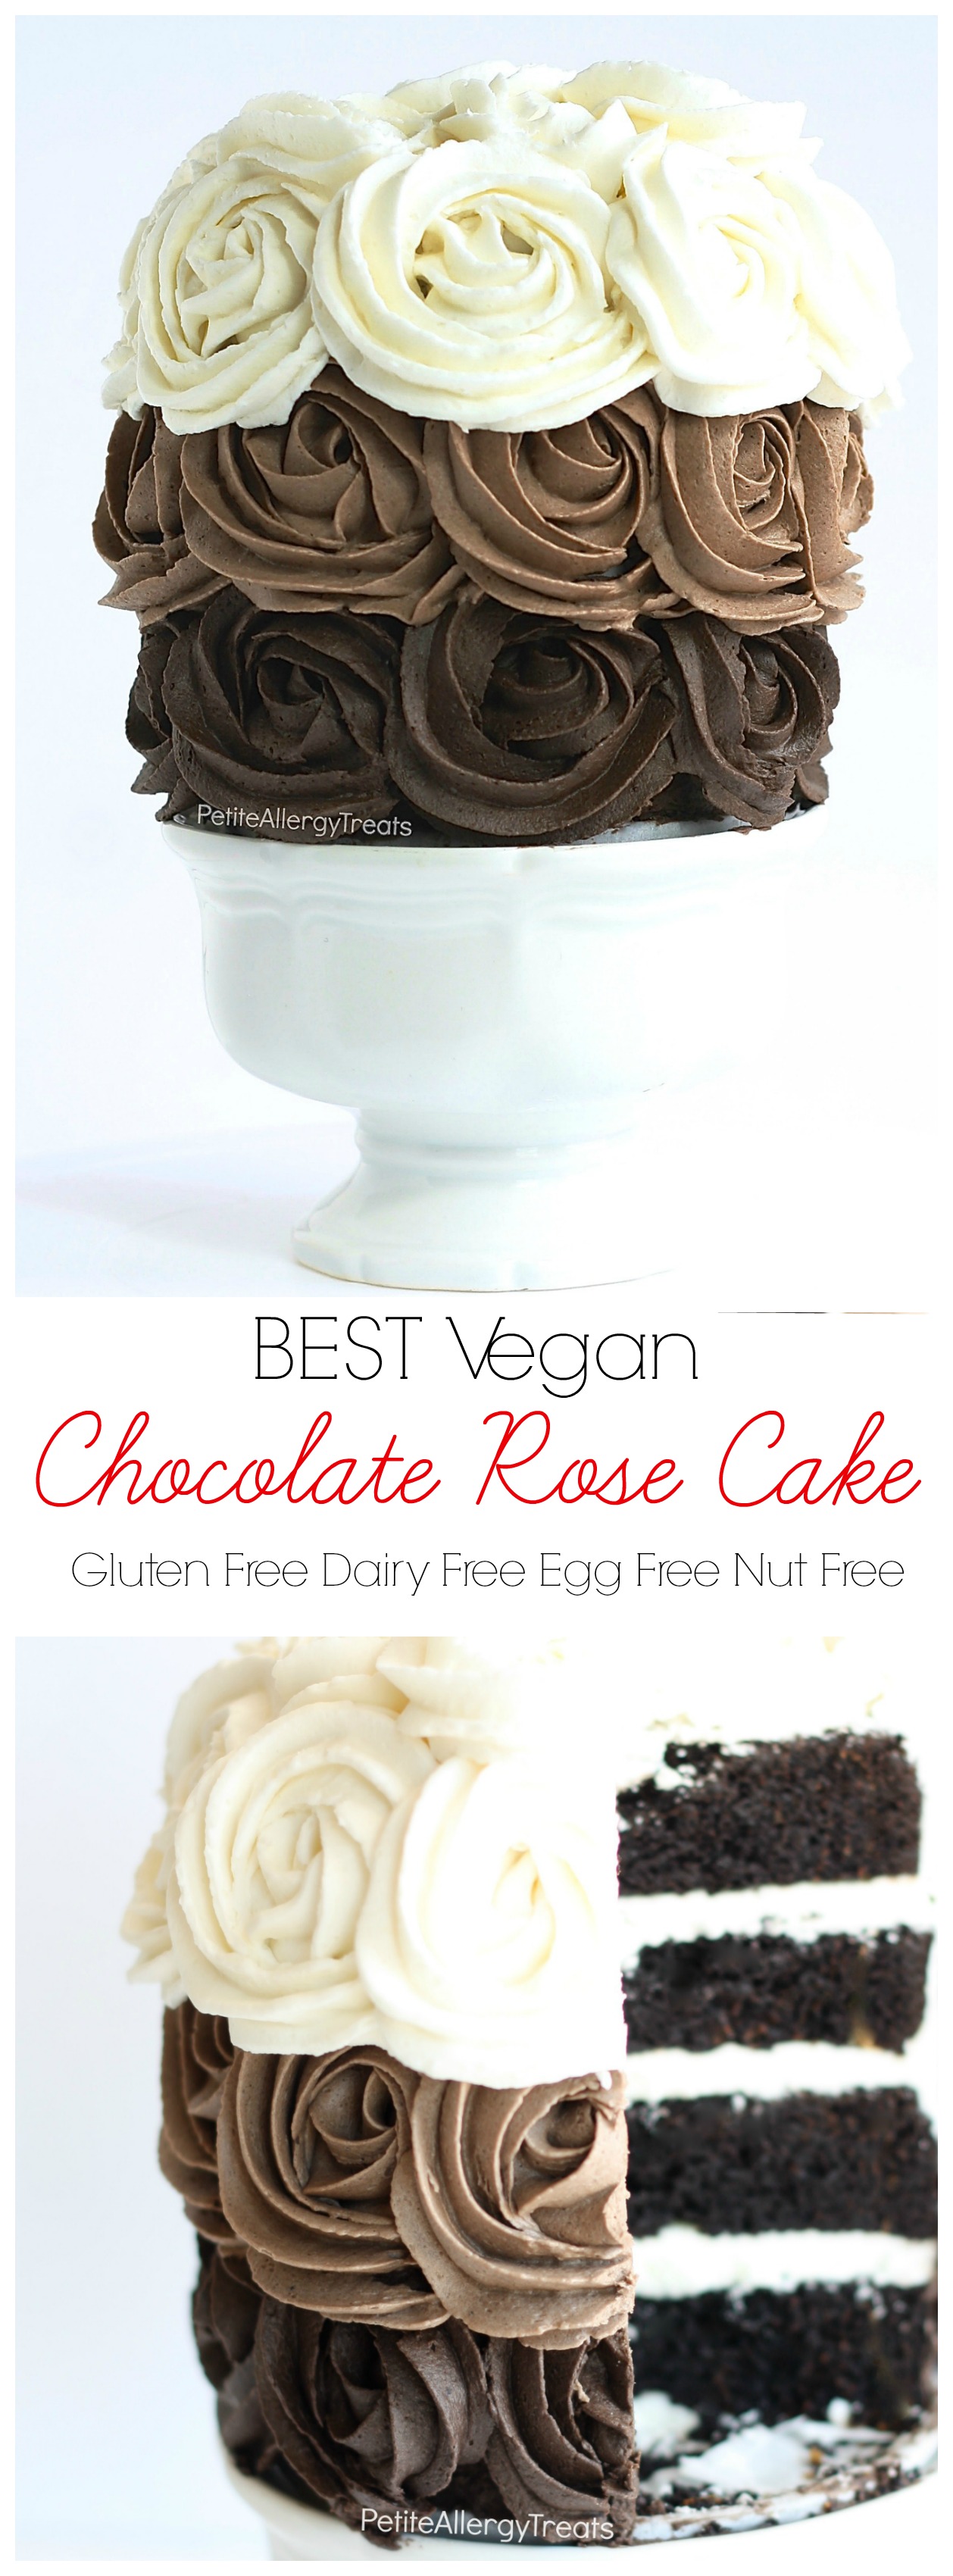
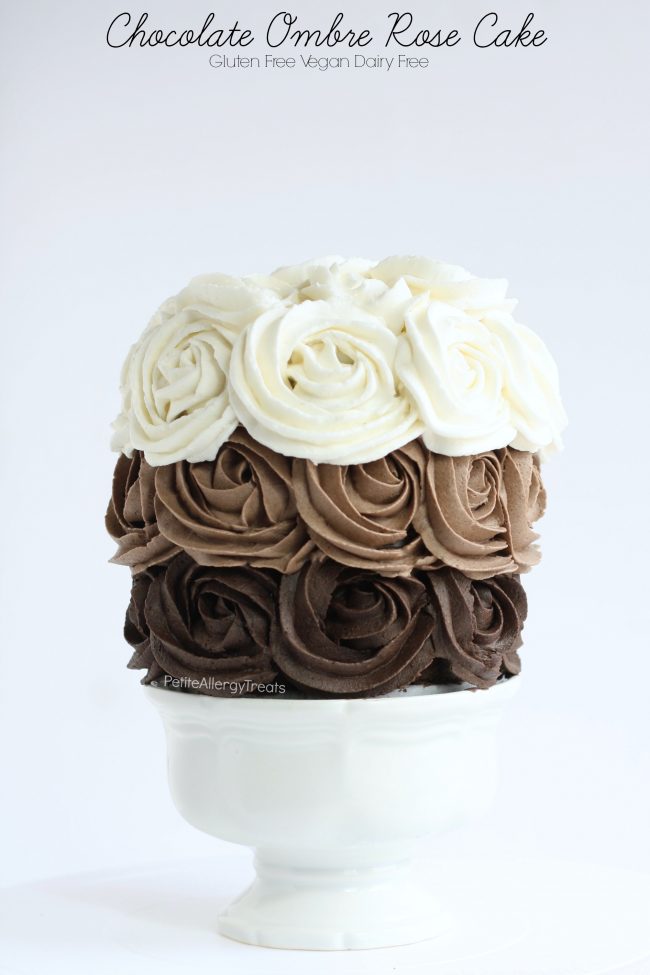
A mini Gluten Free Dairy Free Chocolate Rose Cake!
Isn’t it lovely?
You’d never expect a beautiful cake to be gluten free, dairy free, egg free soy free, peanut free tree nut free and very allergy friendly. Part of managing multiple food allergies is creating the unexpected–Safe Foods that look like traditional meals and treats.
Do you remember the day your life changed? The day where you no longer took food for granted and realized life for others was much more complicated that you knew? I’m talking about being diagnosed with a food allergy, food intolerance or Celiac’s Disease. Just finding basic food seemed overwhelming. Forget desserts like this gluten free chocolate rose cake… Foraging for safe meals was the highest priority of the day as well as finding safe snacks… Life comes at you quick, especially when something as basic as eating is restricted. As quickly as life changes for the worst, be hopeful that positive things can happen just as quickly.
 Do you get a high whenever you find a safe food? Like the unnecessary (but still totally necessary) dessert you’ve been craving for months, or maybe years? For example, sinfully good gluten free cookies. Yes. They do exist. And plenty of other amazingly allergy friendly products are out there just waiting for you to try. Like this whole grain all purpose mix from Enjoy Life Foods.
I’ve gushed about Enjoy Life Foods before, and probably will forever. 😀 When it comes to food allergies, dedicated facilities, free of the Top 8 Food Allergens should be a gold standard. To me, dedicated facilities are a like a warm blanket of comfort to help ease the cross-contamination fears. Enjoy Life Foods has a been the pioneer manufacturer of allergen friendly foods, with an eye on nutrition.
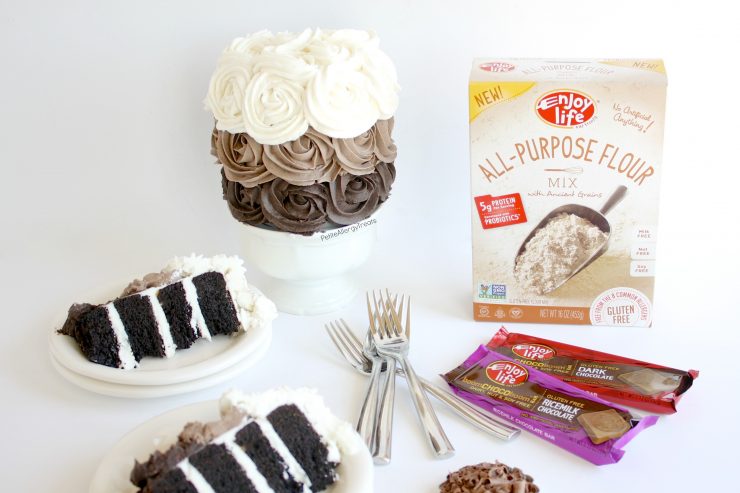
Enjoy Life Foods products are gluten free, soy free, dairy free, nut free baking mixes are still the ONLY baking mixes on the market that contain more nutritious whole grains than starches. Real grains with 5 grams of protein in each serving as well as state of the art probiotics that do not require refrigeration and survive the high heat of baking. Pretty stinking cool from a nutritional stand point.
How does it taste? I don’t think I really need to convince you this gluten free vegan chocolate cake tastes delicious. decadent. and rich.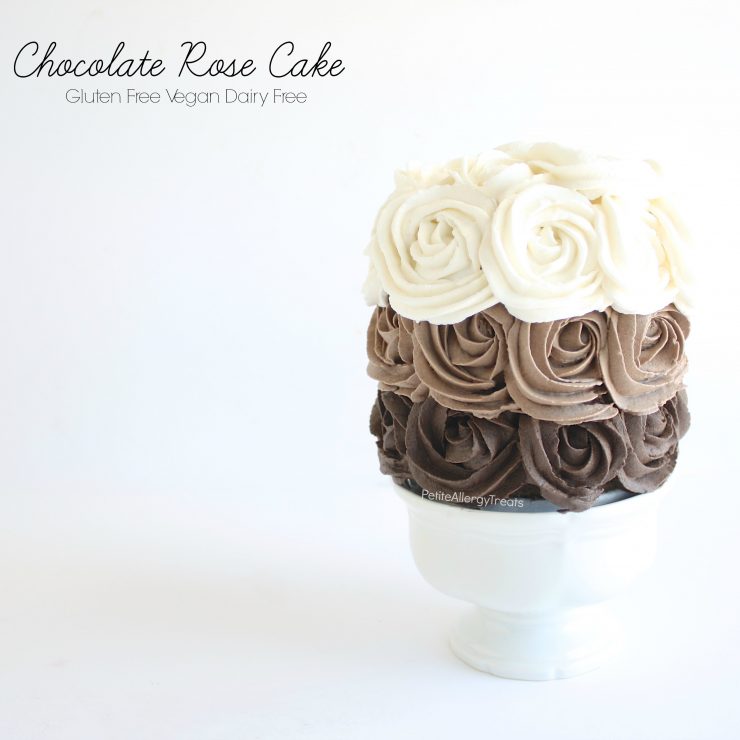
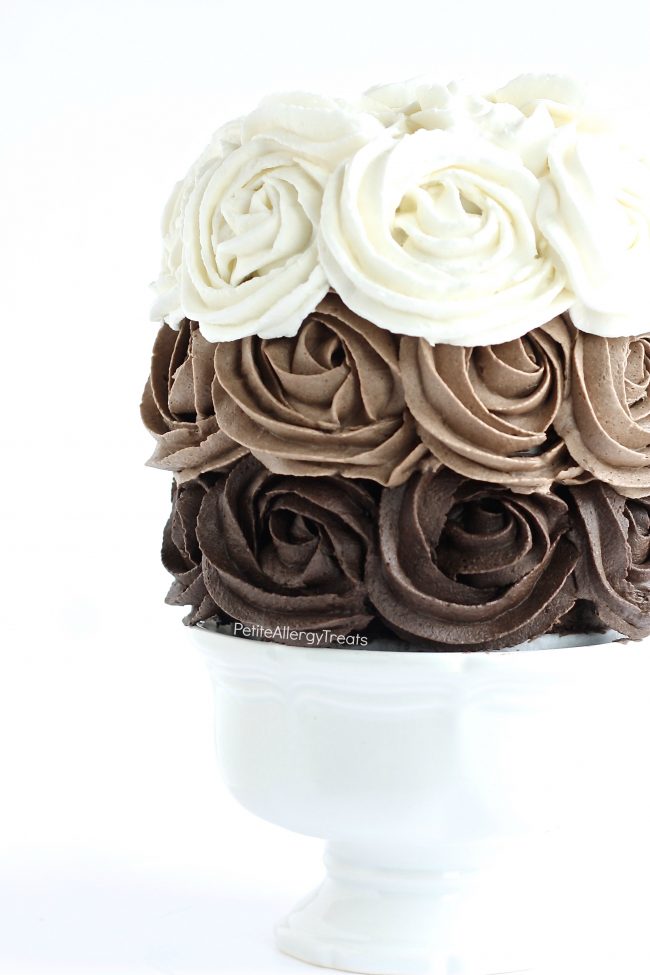
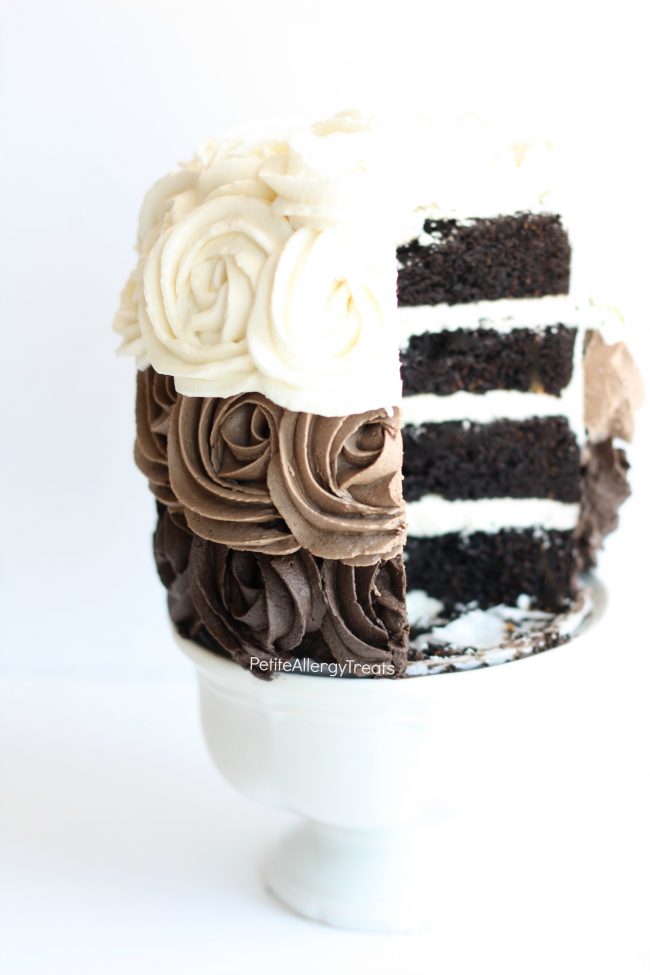
Portion size is key with any rich food. And this portion is just adorable. This miniature 4 layer gluten free chocolate cake is adorned with beautiful rosette frosting. It would be perfect for 2 people. (Although, as a family of 4, we each enjoyed 2 slices). This is the way gluten free chocolate cakes were meant to be enjoyed. Plus, this cake uses my dairy free frosting that contains less sugar than traditional buttercreams. Less sugar makes this cake not overly sweet but balanced.
I have to admit, I think this is the prettiest cake I’ve ever made. I’ve made several allergy friendly cakes over the years for my boys. Being boys, they ask for typical boyish things like the Millennium Falcon from Star Wars, a Great White Shark Cake, and the latest phase, The Book Of Monsters Cake from Harry Potter.
This gluten free chocolate vegan cake was ten times easier than all those cakes. Really. The rose frosting looks complicated but ended up being very simple to pipe out. Before you start, you’ll need a few special tools for this lovely gluten free chocolate cake…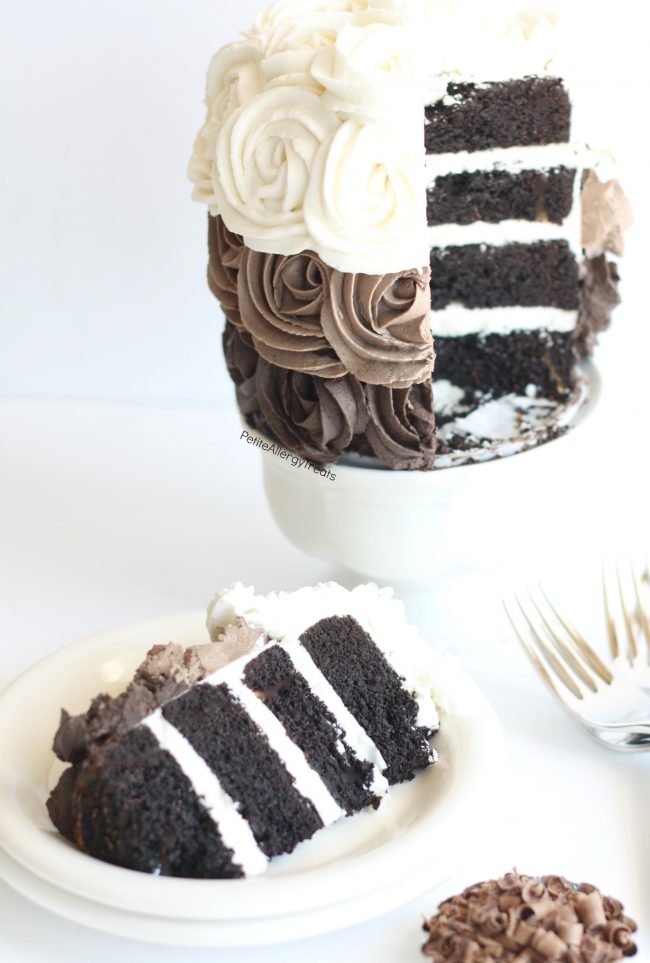
First off, I used 4inch round spring form pans I found at my local craft store. When I was there I also picked up disposable frosting bags and the very important frosting Tip- 1M Open Star. You don’t need the disposable bags but really, you’ll want them. In the past I’ve used a regular ziplock cut at the corner for the decorating tip. While that works, you will have leakage and uneven piping due to air bubbles. Plus, with the disposable bags you won’t need to buy 3 decorating Tips. I also ordered a cake rotating cake stand for $7 on Amazon, not necessary, but it made things a bit easier. Having the right tools to start will save you time AND stress.
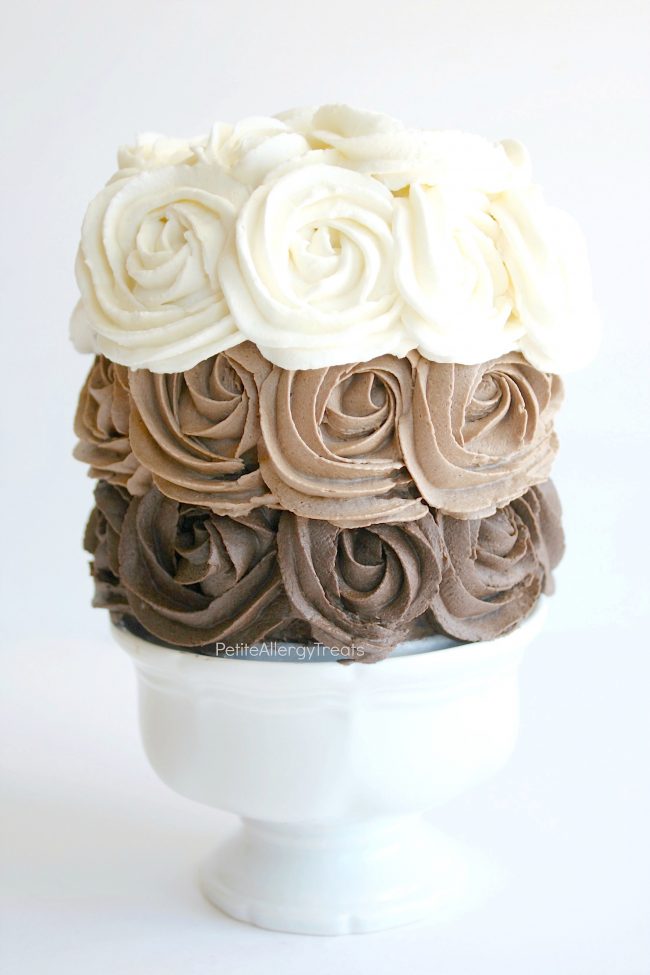
Once you’ve made all your frosting, start practicing the rose. Use clean parchment paper or wax paper to practice. You can recycle the frosting to use on the real cake, keeping it clean away from crumbs. There are plenty of rose tutorials out there like this one with a lovely video here. These are just a few I referenced while creating this cake for decorating. There are too many on Pinterest to list.
I love how the cake turned out and was surprised at how quickly the cake came together once all the frosting was prepped and ready to go. I even made some chocolate curls from the dark and milk chocolate bars Enjoy Life Foods makes. I was going to sprinkle them on top but found the roses too pretty to cover up. We ended up eating the chocolate curls plain–so good!
Hope you Enjoy!
- 1 cup Gluten Free Enjoy Life All Purpose Mix
- ½ cup dutch cocoa
- 4 Tbsp vegetable oil
- ½ cup maple syrup
- ½ cup +1 Tbsp dairy free milk of choice
- ¼ cup white sugar
- 2 tsp vanilla
- 1 tsp baking powder
- 1 tsp baking soda
- ¾ tsp apple cider vinegar
- ¼ tsp sea salt
- ½ tsp ground flax seed or ground psyllium husks
- 1½ cups palm shortening
- 1½ cups powdered sugar
- pinch of salt optional
- DIVIDE in half for light and dark frosting.
- half of frosting base above
- ¼ cup additional palm shortening
- 2 Tbsp cocoa powder
- 2 Tbsp powdered sugar
- ½-1 tsp dairy free milk of choice
- half of frosting base above
- ½ cup additional palm shortening
- ¼ cup cocoa powder
- 2 tsp dairy free milk of choice
- Preheat oven to 350 F for 20 minutes.
- Combine all dry ingredients and mix well.
- Using a mixer, add all remaining liquid except apple cider vinegar and mix until smooth. Batter will appear thin and thicken up after a few minutes.
- Add apple cider vinegar and mix well and immediately pour batter into 2 greased 4inch pans. Place pans on a baking sheet and bake for 30-33 minutes or until toothpick comes out clean in the center. Allow to cool completely in the pans before removing.
- Remove cakes and trim tops with a serrated knife to level. Cut each cake in half by gently tracing the cut first and gradually slice through the cake while rotating. (Patience with cutting will yield less crumbs and less chance of breaking)
- Frosting: Apply a small dollop of frosting to the plate where the cake stay and be decorated. (No moving the cake after this point). Stack the first layer on top and apply approximately ¼ inch of icing to be evenly spread. Start with all the frosting in the center and gently push down only moving the frosting in the center out to the edges in a gentle circular motion. (See Notes*) Repeat steps with 2 more layers.
- The top layer of the cake will be a thin crumb coat of frosting. Thinly (and gently) apply frosting to the top and outsides of the cake. Start at the top center in a circular motion to gradually create an even thin layer and allow icing to waterfall over the sides of the cake. Fill in any gaps within the layers with icing.
- Half way down the cake switch frosting colors to light chocolate then dark chocolate for the base.
- Place cake in refrigerator or freezer for 15 minutes to firm up.
- Roses- Fill 3 bags of colored frosting. Use an additional empty bag which will contain the decorating tip, cut the bottom of the bag to fit tip. Each frosting color bag will be used to lined the empty bag with the tip, making it easy to access and wash the tip between color changes.
- Begin with the darkest chocolate frosting at the bottom of the cake. Apply even pressure when creating the roses. Firmly first squeeze frosting on the cake towards you and then pull up slightly and begin the rotation of the rose ending approximately where you began. See video here for help.
- Repeat steps until roses fill the entire row.
- Remove dark chocolate frosting bag from Tip bag. Thoroughly wash tip. Repeat steps above with lighter chocolate and white frosting rows.
- For the top white rose layer, work from the outside in to cover the entire cake with roses.
- Make the first batch of white dairy free frosting. Place in a clean bowl and set aside.
- Use the mixer (not need to clean) to start the light and dark frosting base.
- Cream shortening until light and fluffy (10 minutes). Add Gradually add sifted powdered sugar ¼ cup at a time, scraping down the edges in-between.
- Divide frosting in half, leaving half of the frosting in the bowl.
- LIGHT CHOCOLATE FROSTING- Cream extra shortening until well incorporated. Add cocoa powder mixing well. Scrap down sides and add powdered sugar and dairy free milk, mix well until light and fluffy. Remove frosting to a separate bowl and set aside.
- DARK CHOCOLATE FROSTING- Add the reserved white frosting base, cream extra shortening until well incorporated. Add cocoa powder mixing well. Scrap down sides and add powdered sugar, dairy free milk and mix well until light and fluffy. Remove frosting to a separate bowl and set aside.
Frosting-
The lightest frosting should be made first to avoid cleaning the mixer and bowl. Start with a full batch of dairy free white frosting, next base for light and dark chocolate. Mix lighter chocolate then dark chocolate frosting. There will be extras of all frosting; the roses use a lot of frosting and you won't want to run out half way through! Be sure to apply a thin crumb coat with the white frosting so you'll have plenty left for the roses.
The technique for the roses should be practiced before apply to the cake. For a better description (and if you're a visual learner) see the video here and here from I Am Baker.
Refrigerating the cake will help keep the shape of the roses as well as for cutting cleaning slices. This cake is the perfect serving for 2-3 people. Freeze leftovers to enjoy another day!
Tools listed are only suggestions to make things easier and faster. A metal open star tip is better than a plastic tip for crisper piping of designs and clean better in hot water.
Disclosure: This post has been sponsored by Enjoy Life Foods. All opinions are mine alone. Thank you for allowing me to continue to working with brands that meet our food allergy needs! For more about Enjoy Life Foods be sure to follow them for the latest news on Facebook and Twitter
Follow me for the latest news!
PINTEREST |INSTAGRAM| TWITTER |FACEBOOK |GOOGLE+
Some other things you may like:
Gluten Free Cookie Dough Brownie Cake (Vegan)- gluten free dairy free vegan
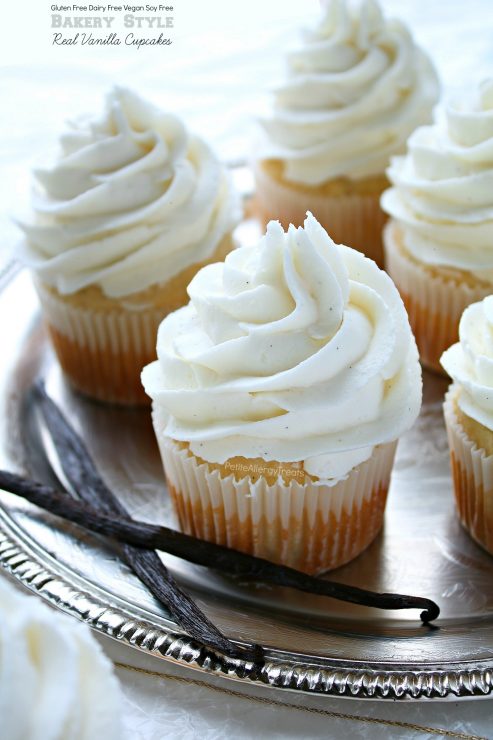
Bakery Style Gluten Free Vanilla Cupcakes– dairy free egg free Vegan
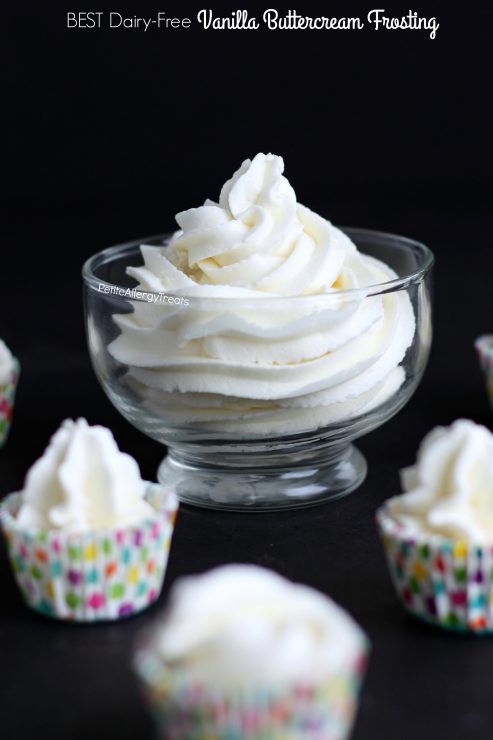
Best Easy Dairy Free Buttercream Vanilla Frosting
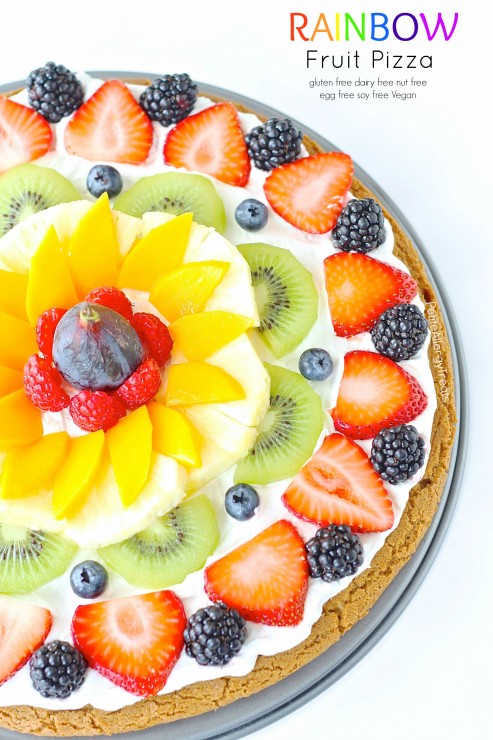
Rainbow Fruit Pizza (Gluten free Vegan)
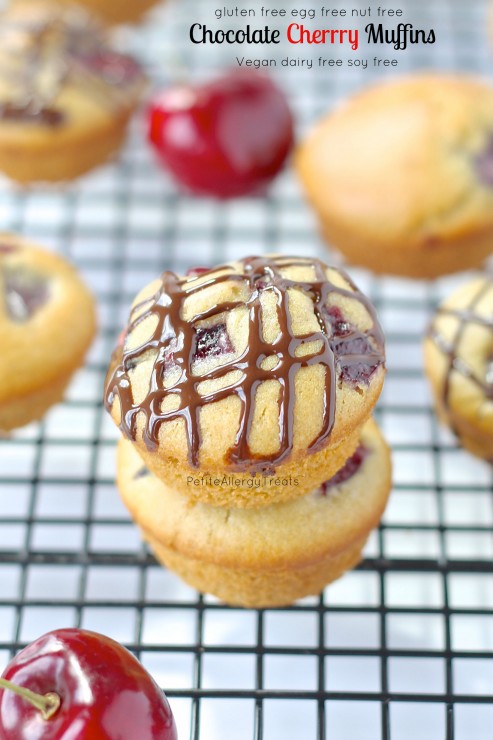
Gluten Free Chocolate Cherry Muffins
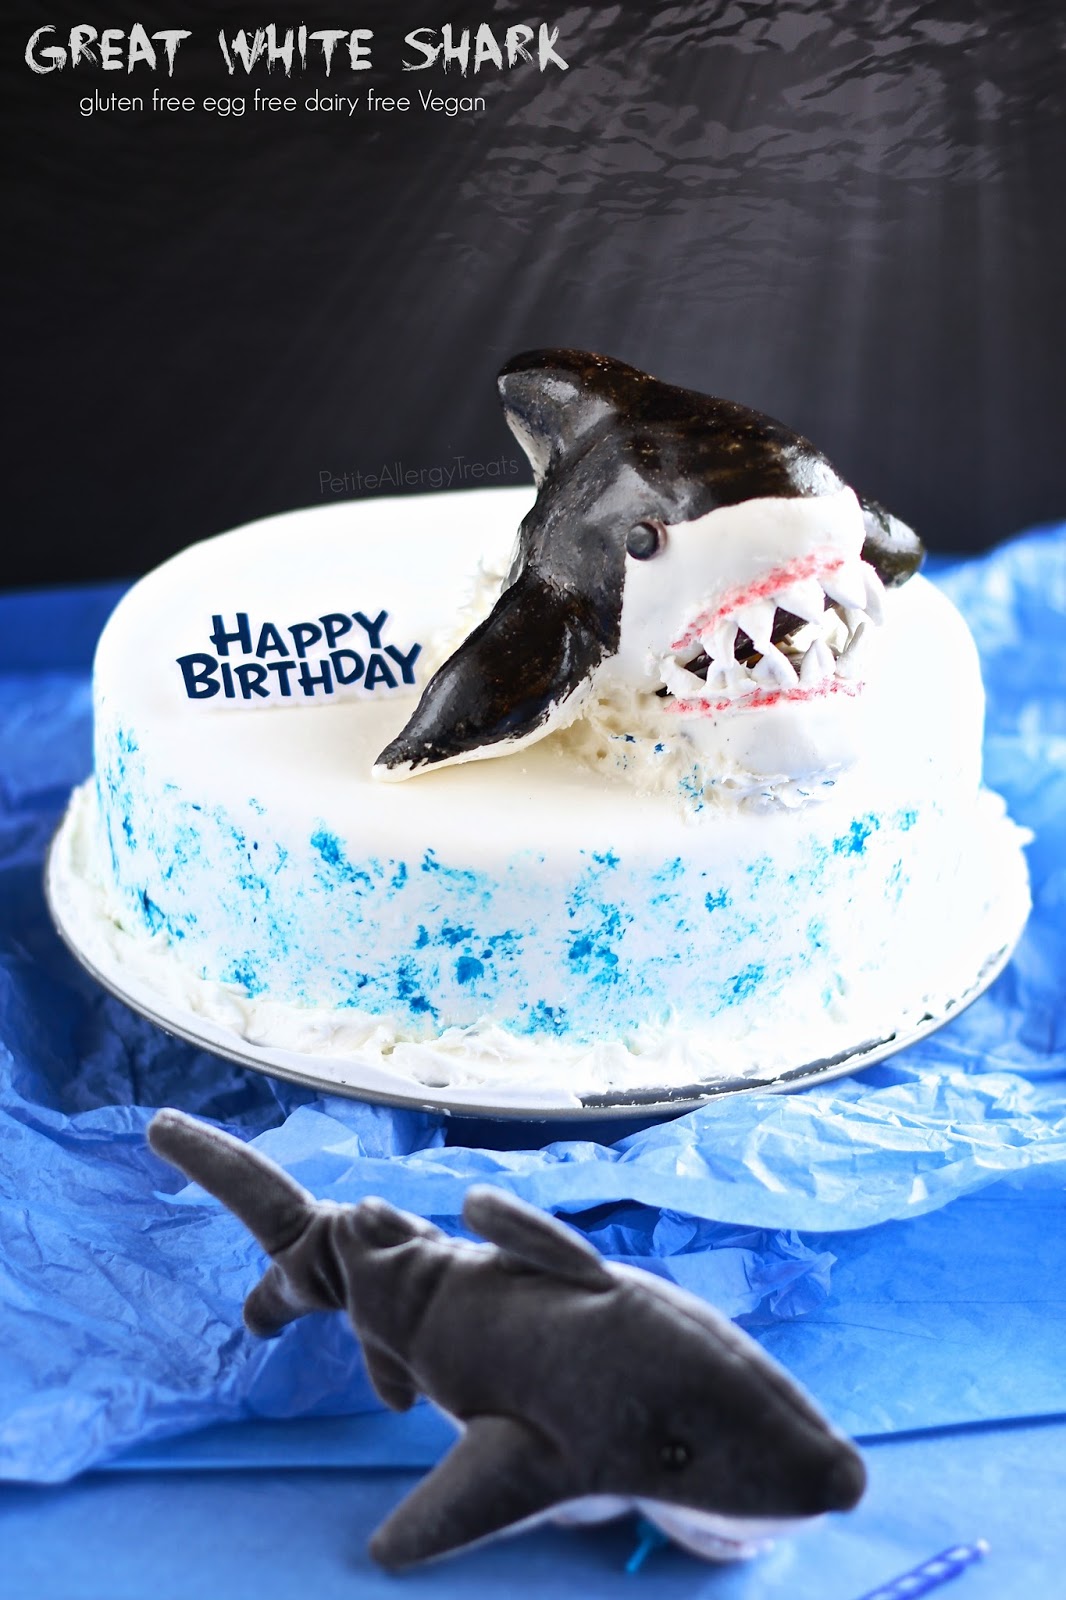
Shark Cake (egg free dairy free gluten free food allergies)


This is more than stunning! I have no words Laura! :O
Thank you Rebecca! Everyone can enjoy a slice of allergy friendly cake!
This cake is absolutely stunning! I have a friend who’s son has a dairy allergy so I can’t wait to make this cake for him!
Thank you so much Bintu! You’re so sweet to help others with food allergies. <3 Makes my heart happy!
So pretty and I bet super delicious! I love seeing I Am Baker’s rose technique on cakes, this one is particularly pretty though!
Thank you so much Johnna! I Am Baker has so many amazing cakes!
What a gorgeous cake! I love the ombre effect, so pretty!
Thank you so much Kelly! The ombre with natural coloring was fun to create!
Gorgeous! Would never guess it was gluten-free (amazing how far gluten-free items have come!)
I know, right Kacey! Gluten free mixes help make things easier to create. 😀
So pretty! Which I could make a cake that nice.
Thank you Matthew! I guess with the recipe, now you could! 😀
This Cake is so pretty, Laura! 🙂
What a stunning cake! I didn’t know Enjoy Life made cake mixes – I used to pack their cookies for my son’s lunch
Oh my GOSH! This cake is so stunning I can hardly stand it, Laura! LOVE how you decorated the outside and the inside looks so so moist!
This cake is beautiful, and looks and sounds delicious!
What a gorgeous cake! This is too beautiful to eat!
This cake is wonderful! So pretty and I love the roses! I don’t have a food allergy but my future sister in law does! 🙁 I know she loves finding things that she can have!
This cake might be the prettiest cake I have ever seen! I love the gorgeous ombre roses!
Hi! I just made this the other day and it turned out great ??. I didn’t have maple syrup so I used agave nectar. One thing I noticed that the next day as left overs the cake was even better!!! The day of it was a grainy and you can tell its gluten free, but the next day it was even more moist than before, it was delicious and dangerous, I just wanted to keep eating it ?
Hi Christine,
YES! Gluten free whole grain flours take time to absorb moisture. A little TIP: mix all gluten free ingredients (minus baking soda/powder) the night before you want to bake and add leavening agents the next day. This gives the dough time to absorb the moisture and remove all gritty textures. Great for cookies!
? I didn’t know that!!?Thankyou so much ??. I’ll be using that trick for future GF baking. Could I do this with boxed GF goods? (Like Betty Crocker GF brownies and cakes?). Also I doubled this recipe too and it worked out wonderfully ?
Hi, I’m so happy that I found your website. I failed multiple times making dairy free icing. My daughter (5 years) is allergic to dairy and it’s quite challenging to create similar dairy free lunch bags to match the daycare menue. I’m very excited to try out some of your recipes.
Wow! I’m loving the chocolate rose combination currently, can’t wait to try this recipe and perhaps add some beets or pumpkin to add a healthy vegetable kick to it! Thanks for sharing
Can I substitute the non dairy milk for coconut milk?
Hi Jessica!
Yes, coconut milk would be great! A high fat or regular coconut milk would work better than low fat.
Hello!! Thank you for this truly amazing recipe!! it looks absolutely fabulous! But I was wondering whether or not its possible to replace the palm soil shortenings with something else?
Thank you very much!
Spring, if you can tolerate dairy or soy products, feel free to substitute those for the frosting. Coconut oil would not work. Coconut cream might work if the temperature was on the cooler side for decorating and kept in the refrigerator. Hope that helps!!
This cake is gorgeous! I was wondering if you think this recipe could be made into cupcakes? My son’s birthday is coming up, and he would love to have chocolate cupcakes. Thank you, for all of these amazing recipes, I have had a lot of success with them. My son has a lot of food allergies, so your blog has been so helpful! ?
Hi Brittany,
I think these could work as cupcakes… I’m not so sure of the baking time. I would suggest making the batter and baking only 1 or 2 (so you don’t ruin them all) and experiment with the time. I’d start off with only baking 10 minutes and check the center with a toothpick about every minute after. The cupcakes will continue baking (steaming) in the tins even after removing them from the oven. Use your judgement. If you try these as cupcakes, please let us know what times you used. Happy birthday to your son!!
I made them into cupcakes, and they worked beautifully! This was my first successful allergy friendly cupcake, so thank you! They took 20 minutes to cook at 350 degrees, and made about 12 cupcakes.I greased the cupcake liners, and they needed to cool completely in the pans before being removed. I made them the night before I needed them, and placed them in the fridge after cooling completely. I frosted them about an hour before we ate them. I made your vanilla frosting to top them with. They almost tasted like an Oreo, but better ?
Can you use a different kind of oil since vegetable oil is made from soy?
Hi Zoe, There are plenty of other vegetable oil options apart from soy like sunflower oil, corn oil and avocado oil. The frosting is made from palm shortening which could also be melted down for liquid oil. Hope that helps!